The journey to Lantia
Namalsk's endgame, end to end — print the hazard suit, start a reactor under Athena during an EVR storm, and pick the module combination that decides whether you get two minutes on the far side or seven.
Most people who play Namalsk never see Lantia. It is a genuine expedition — a shopping list spread across the whole island, a suit you have to manufacture, a portal that only opens during the worst weather in the game, and a window at the far end measured in minutes.
This is the long way round, written in the order you actually do it, with the numbers the game is actually running rather than the ones people repeat in chat.
What you actually need
Three separate things, doing three different jobs. People conflate them, and that is where most failed runs come from.
The suit — 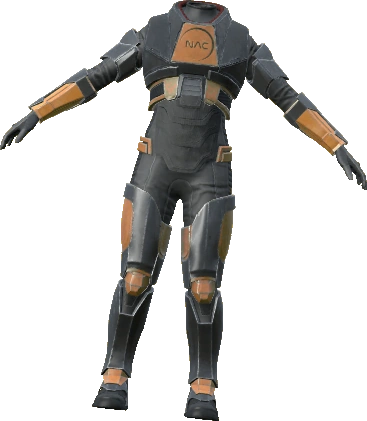 LEHS Mk3 and
 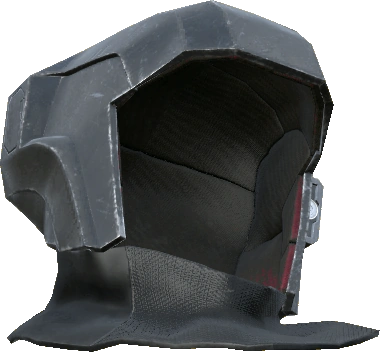 LEHS Mk3 Helmet. Lantia has no air. Standing in it
unprotected costs you
LEHS Mk3 Helmet. Lantia has no air. Standing in it
unprotected costs you -12 shock and -6.25 health every second, which is unconscious in about
nine seconds and dead in about sixteen. The suit is what stops that, and it only stops it while it
is pressurised, which needs both a 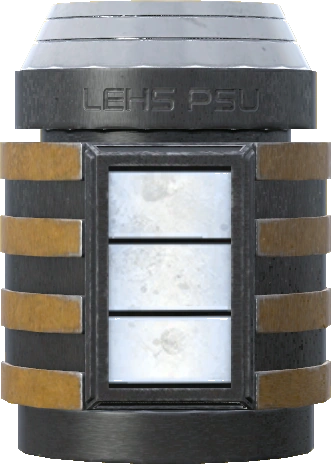 LEHS Mk3 battery and a
 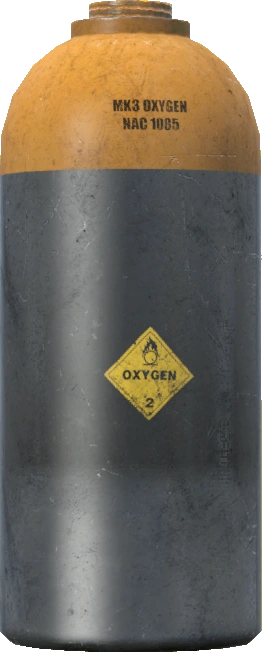 LEHS Mk3 O2 Tank
fitted. A suit with a flat battery is a costume.
LEHS Mk3 O2 Tank
fitted. A suit with a flat battery is a costume.
The two modules — 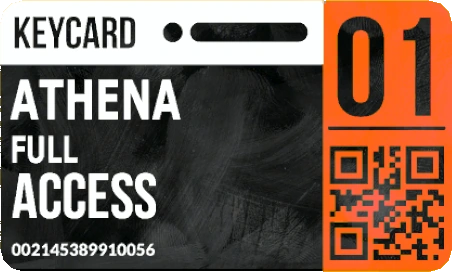 NAC access card and
 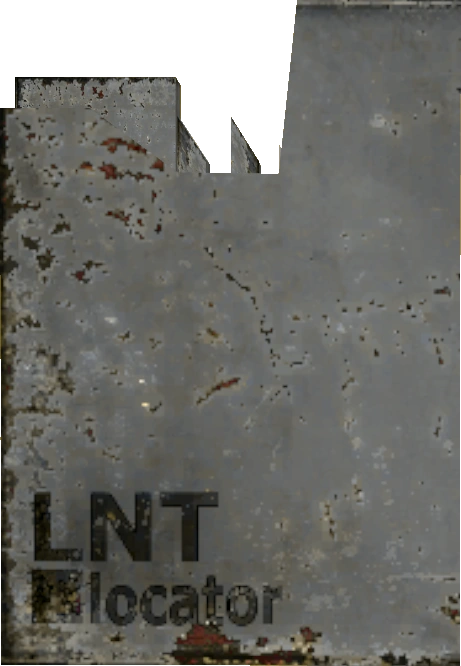 Lantia pulsar locator. These are what the
console actually checks. Nothing else is required to open a portal and step through it.
Lantia pulsar locator. These are what the
console actually checks. Nothing else is required to open a portal and step through it.
A 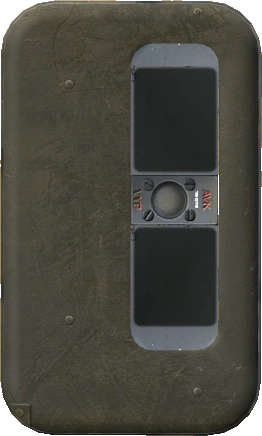 Muon detector. Not required, and the single biggest quality-of-life item on this trip.
It tells you a storm is coming before anyone else on the server knows.
Muon detector. Not required, and the single biggest quality-of-life item on this trip.
It tells you a storm is coming before anyone else on the server knows.
You will hear that the suit is optional, and there is a grain of truth in it: the console does not check for one, and there is a safe pocket roughly fifteen metres across around the arrival portal where an unprotected player survives. That is why videos can "prove" it by standing next to the portal in street clothes. Step outside that pocket, or let the portal close around you, and the nine seconds start counting. Bring the suit.
Everything else on this page is logistics.
Step 1 — the shopping list
Nothing here is craftable. All of it is looted.
For the suit, printed at the oil rig:
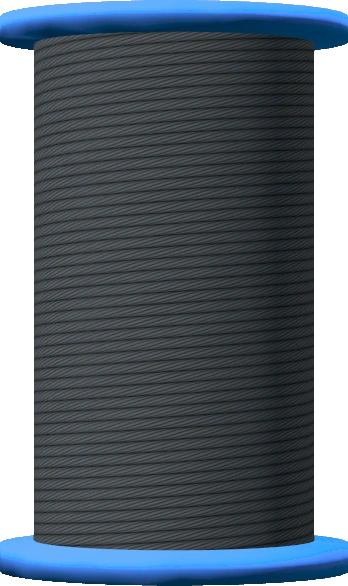 Nylon filament,
 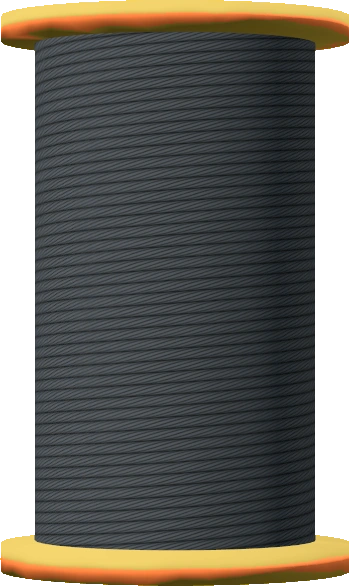 ABS filament and
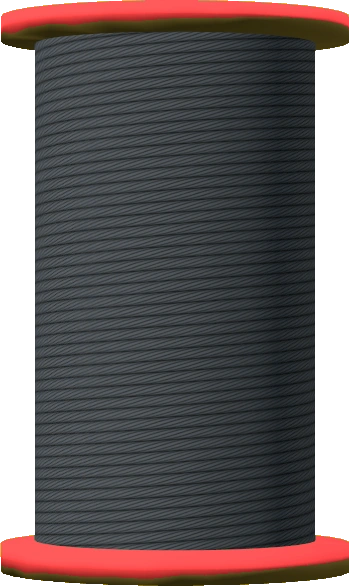 TPC filament — three different filaments, all three needed. They are
industrial spawns, and Tara Island is the reliable ground for them.
TPC filament — three different filaments, all three needed. They are
industrial spawns, and Tara Island is the reliable ground for them.- A
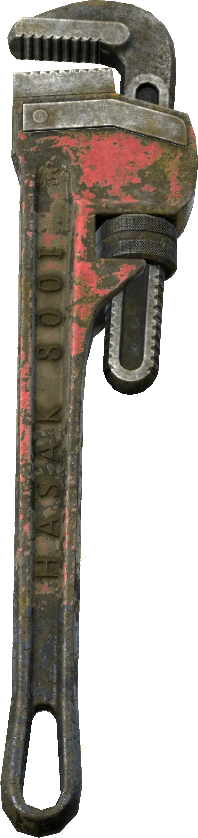 Pipe Wrench, ordinary industrial loot found island-wide.
 - A complete NBC suit:
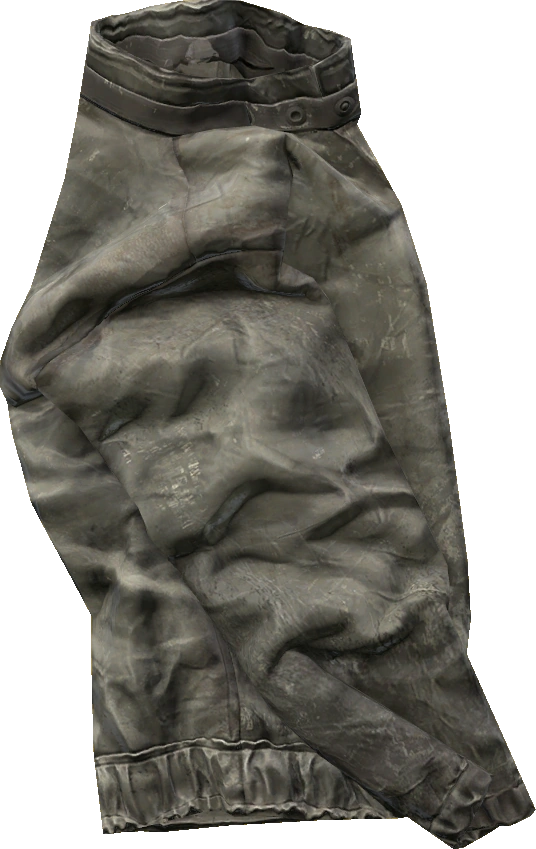 NBC Jacket,
 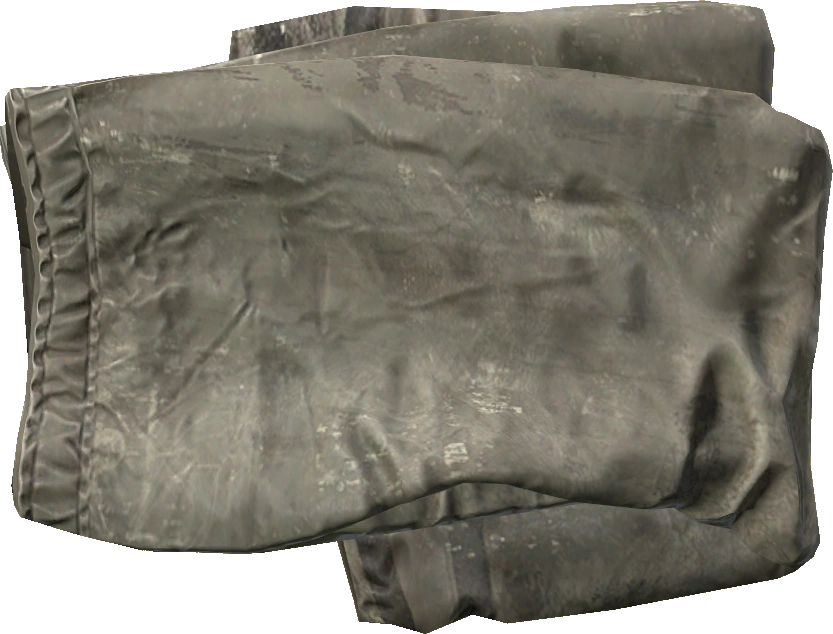 NBC Pants,
 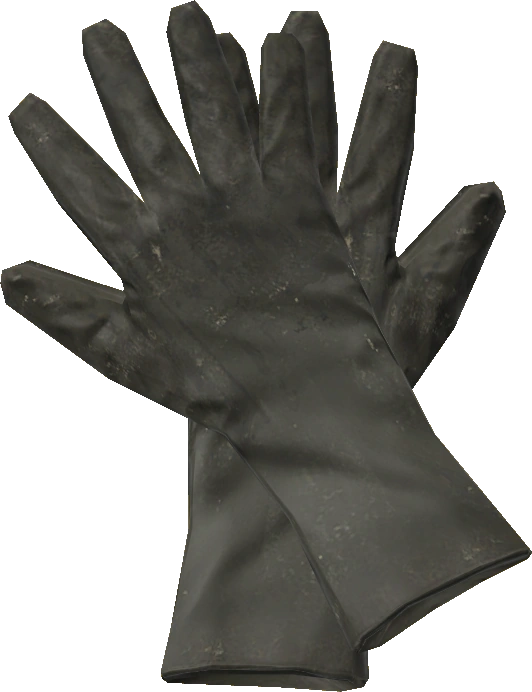 NBC Gloves,
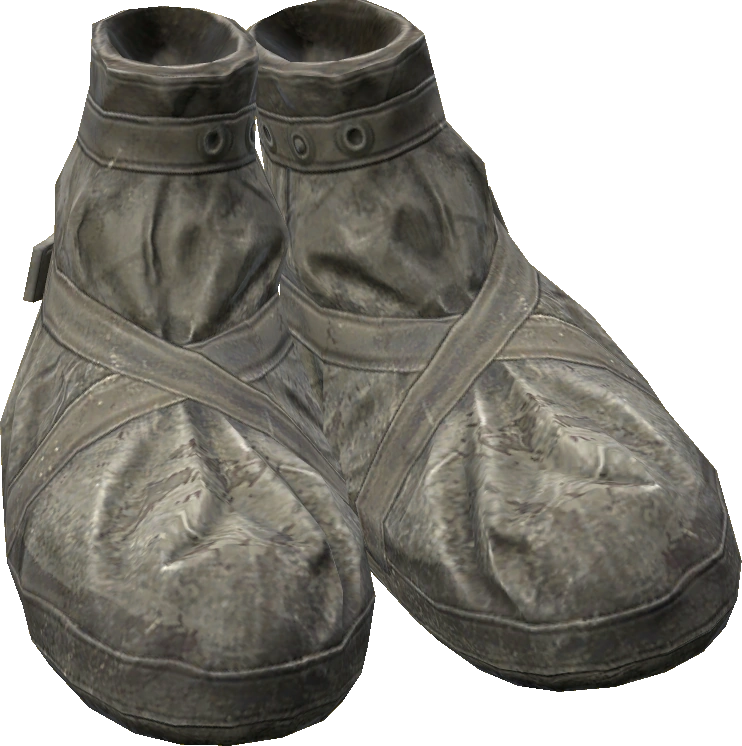 NBC Boots,
 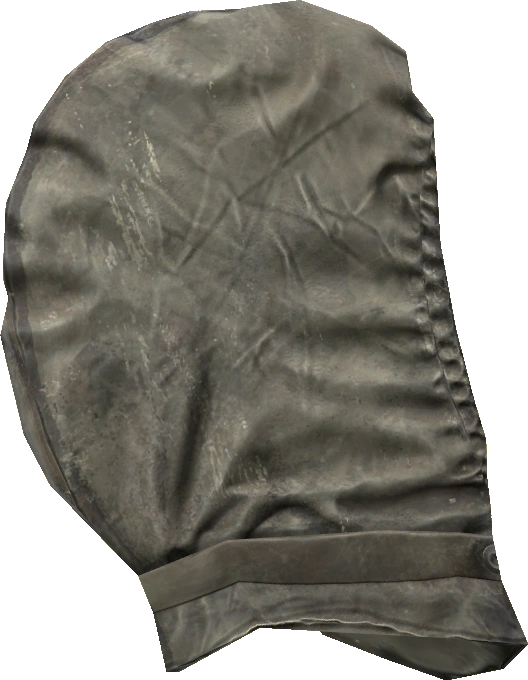 NBC Hood and a gas mask. All six pieces — a partial set is no set.
 - The
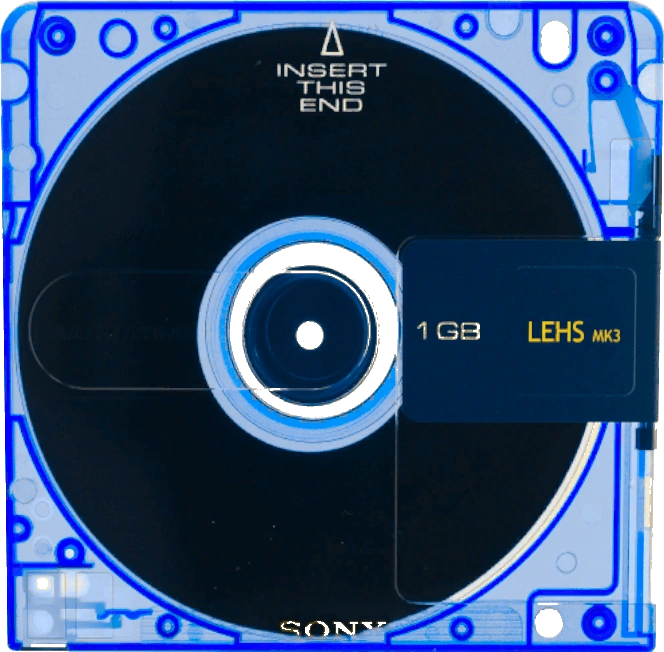 LEHS Mk3 Blueprint, if your printer run asks for it.
For the portal:
- NAC access card, the NAC access card.
- Lantia pulsar locator, the pulsar locator. The oil rig, and nowhere else — there are
exactly two placements for it on the whole island, both on the Phoenix rig, one in the main
structure and one up the derrick tower. If you have been sweeping Athena for one, stop.
Worth having:
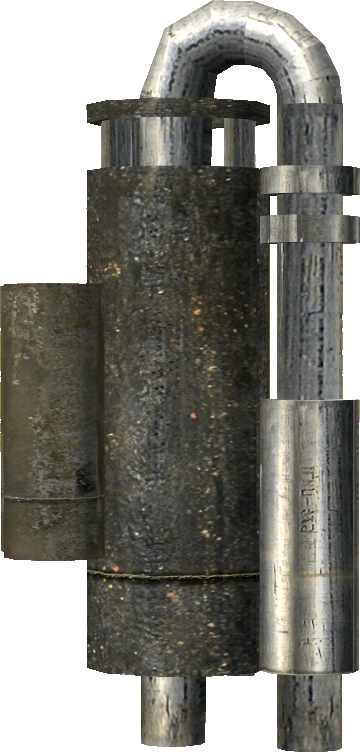 EMAC flow controller, the EMAC flow controller — buys you extra time on the far side.
- Muon detector, the muon detector. It takes a
 9V Battery and sits in your radio
slot, not a hand.
9V Battery and sits in your radio
slot, not a hand. 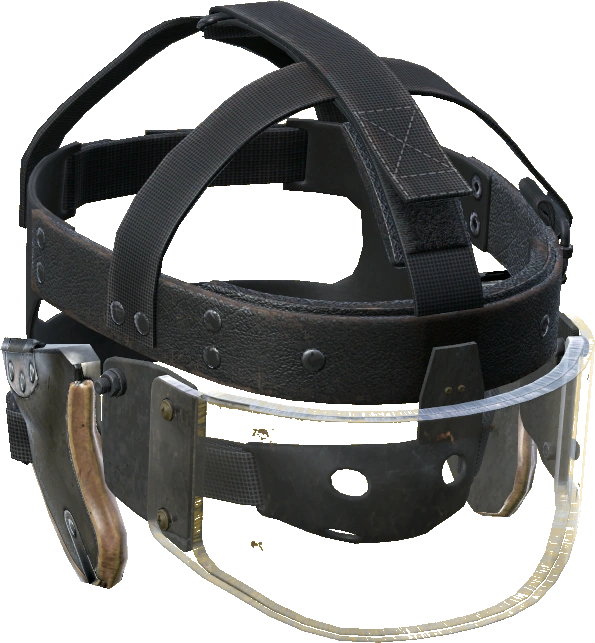 APSI, in your eyewear slot and switched on, unless you are doing the whole run in
the suit. The storm rules are in the survival guide.
APSI, in your eyewear slot and switched on, unless you are doing the whole run in
the suit. The storm rules are in the survival guide.- A couple of
 Epinephrine Auto-Injector, for the sprint in step 4.
The card, the flow controller and the muon detector all share one small pool of containers — the two sunken submarines, the three basement levels under Athena 2, the Athena Research Institute buildings, the oil rig, and one building high on the ridge inland. That is eleven placements between them, so expect to walk. The Loot Finder has the exact points: card, locator, detector.
Uses, before you plan around them. The card survives 6 activations, the locator 3, and both
flow controllers are ruined by a single use. Plan the locator as three round trips at the absolute
most, and realistically fewer.
Step 2 — print the suit
Take the filaments, the pipe wrench and the complete NBC set to the Phoenix oil rig, offshore to
the east. The printer there produces the LEHS Mk3 and its LEHS Mk3 Helmet.
Two things before you make the swim. The rig is cold and a long way out, so treat getting there as its own small expedition. And the rig runs its own clock once you open the main door — the keycards and quests guide covers that timer; do not start a printer run without reading it.
The suit is worth owning even if you never go through the portal. It makes you immune to frostbite and it protects you in an EVR storm exactly like the APSI does.
Keep every LEHS Mk3 battery and LEHS Mk3 O2 Tank you find. Both are consumed,
both are ordinary industrial loot, and a spare tank is what lets you loot on the far side rather than
watch the clock. The 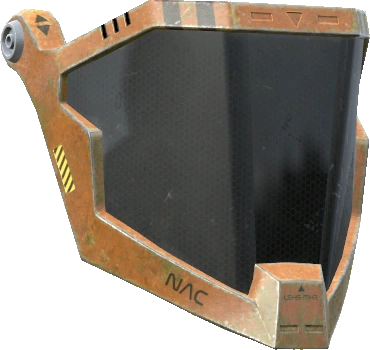 LEHS Mk3 Helmet visor is not something to hunt for — the helmet
builds its own when it is printed, the slot is hidden in your inventory, and you can neither loot one
nor take one off.
LEHS Mk3 Helmet visor is not something to hunt for — the helmet
builds its own when it is printed, the slot is hidden in your inventory, and you can neither loot one
nor take one off.
Step 3 — Athena 2, and the wait for a storm
The chain starts on the third basement level of Athena 2. Get into the main building and work
down. Bring a light — the lower levels are genuinely dark, and a 9V Battery torch or a glow
stick is enough.
Down there you are waiting for an EVR storm, because the panel does nothing without one. This is where the muon detector earns its slot: switch it on and it starts beeping as a storm spins up, accelerating as the storm gets closer, and the storm's opening phase runs for eighteen minutes before anything visible happens above ground. That is eighteen minutes of head start on every other player on the server.
Wearing the LEHS Mk3 Helmet does the same job less precisely — it narrates the storm to you
over the radio, which is also how you will read the portal later.
When the storm is running, use the panel: Start FLAX reactor. You have to be standing at the
console on that third level, and the storm has to be in its early phase.
What that button actually does is a re-route. During an EVR storm the anomaly at Athena 1 throws anyone it catches to a random spot on the island. With the FLAX reactor running, it throws you to Athena 3 instead. Skip the button and the storm will still pick you up — it will just dump you somewhere useless. Note that vehicles are never re-routed; leave the car.
Step 4 — the run to Athena 1
Go now, and do not stop to loot.
You are crossing open ground in an EVR storm, which is what the APSI or the suit is for. This is the
moment for the Epinephrine Auto-Injector — two is about right; one is usually not enough to make the
distance. Wildlife and infected are still active, other players saw the same storm, and being
knocked unconscious out here ends the run.
At Athena 1 you will find the anomaly. Get caught by it.
Step 5 — Athena 3, floor by floor
You come out in Athena 3, and this is where the old advice is wrong: Athena 3 is gassed. This server runs two permanent contaminated zones over the complex, one across the facility itself and a larger one over the tunnels beneath it. Keep the gas mask on, or stay in the suit.
The layout, bottom to top:
| Floor | What is on it |
|---|---|
| Ground | The entrance to the maze. A ladder at the far right goes up |
| First | The control room, down the hall and across the bridge — this is where the modules go |
| Second | Loot, including LEHS batteries and oxygen tanks |
| Third | The portal chamber, plus the back rooms that most reliably hold tanks and batteries |
Loot it now. Nothing here is on a timer until you press the button, and you will not want to come back through the middle of a run.
Step 6 — choosing your window
At the first-floor control room, put your modules into the console. What you attach decides how long the portal lives, and there are exactly three combinations — both flow controllers share one slot, so using two is not a thing you can do even by accident.
| In the console | Portal window | Can you stay after it closes? |
|---|---|---|
| Card + locator | 2:21 | Yes, in a pressurised suit |
| Card + locator + EMAC flow controller |
3:05 | Yes, in a pressurised suit |
Card + locator + 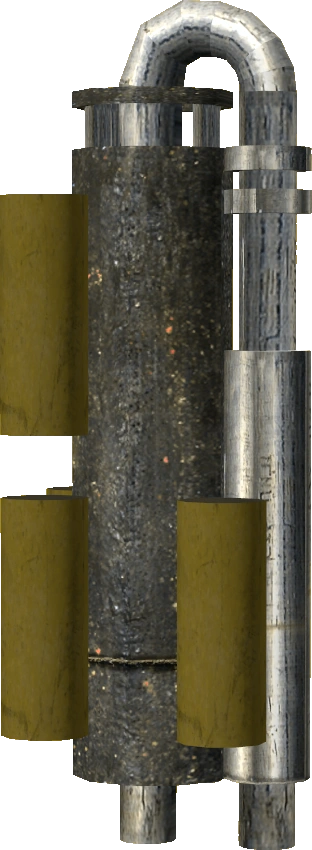 EMAC phased flow controller EMAC phased flow controller |
7:08 | No — staying is fatal |
The EMAC phased flow controller is the interesting one and the hardest to get: it only spawns inside
Lantia, in the observatory, the portal cage and the habitat. The long trip is only available to
someone who has already made a short one.
The 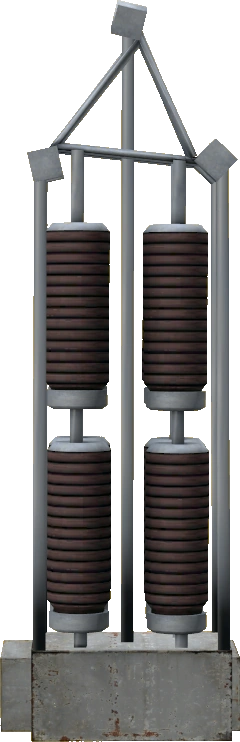 APAC surge module does nothing here. With a locator in the console it is never even
read. Its actual job is starting EVR storms, so it is useful one step earlier in this chain, not
this one.
APAC surge module does nothing here. With a locator in the console it is never even
read. Its actual job is starting EVR storms, so it is useful one step earlier in this chain, not
this one.
Press start. You now have two minutes to get from the control room up to the third-floor portal chamber before the portal opens — plenty, if you walked the route in step 5.
Step 7 — the portal, stage by stage
The helmet reads the portal out to you. These are the real messages, in order, timed from the moment the portal appears.
| Time | Message | What it means |
|---|---|---|
| 0:05 | Lantia link initiated |
The portal is live |
| 0:35 | LOP activity |
Still safe to go back to Athena 3 |
| 1:35 | Link stabilized |
Going back no longer returns you to Athena 3 |
| 2:05 | Stabilization failed |
|
| 2:21 | Link lost, or Energy spike detected |
No-controller window ends here |
| 2:25 | LOP active |
Going back now also hurts |
| 3:05 | Link lost, or A3 FLAX phasing active |
Flow-controller window ends here |
| 4:07 | Tremors detected |
Phased only |
| 4:11 | C3 Sandstorm inbound |
Phased only |
| 6:11 | C3 Sandstorm in effect |
Phased only — leave |
| 7:08 | Link lost |
Phased window ends |
Link stabilized is the one to burn into memory, and its name is a lie: it is the moment the trip
home stops working properly.
Getting home
Step back into the portal and where you land depends entirely on which message you last heard.
- Before
Link stabilized— you arrive back in Athena 3, which is what you want. - After
Link stabilized— you are thrown to a random point on Namalsk instead. One fixed point, rolled when the event started, so everyone on that run lands together. Survivable, but you are walking home. - After
LOP active— same random relocation, plus-50health and-100shock. Without a suit that is a knockout in the open at minimum.
Transit always costs you, in both directions, and the cost rises through the run: shock -22 in
a suit early on, -35 in the middle, -50 late — and -42, -65, then health damage on top,
without one. Jump early. A cheap arrival is worth more than the extra seconds you spent deciding.
Once the window ends, the portal is gone from both sides and you are not walking out of Lantia. The way home is another player at the Athena 3 console starting the reactor again — which is the real argument for doing this in a pair. Alone, you are betting the character on your own clock.
Staying alive on the far side
Lantia checks you every few seconds, and resolves in this order:
- The window has ended and you used the phased controller — you die. This is a scripted execution over about half a minute and nothing prevents it. Not the suit, not the blood.
- You are inside the safe pocket around the arrival portal, and the portal is still open — you are fine, suit or no suit. The pocket is roughly fifteen metres across, and it disappears the instant the window closes.
- You have a pressurised suit or
 Hyper oxygenated blood running — you are fine anywhere.
 - Otherwise — nine seconds to unconscious, sixteen to dead.
Hyper oxygenated blood is the emergency option and the only way to eat or drink out there:
inject it, and it holds for thirty seconds at a cost of around twelve health. Start a timer when you
inject. It is also Lantia loot, so you cannot rely on it for a first trip.
The lava is instant death. There are three pools, they are always active regardless of the portal state, and there is no saving throw — touching one sets your health to zero. Watch your footing near the flows in the low ground.
What is actually over there
Lantia is small, hostile and full of things that spawn nowhere else on the island. The crates are Tier 6 and Tier 7, concentrated in a band north-west of the arrival portal:
- Weapons —
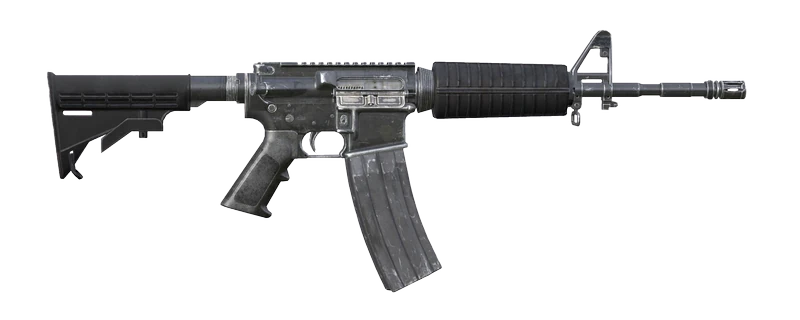 M4-A1,
 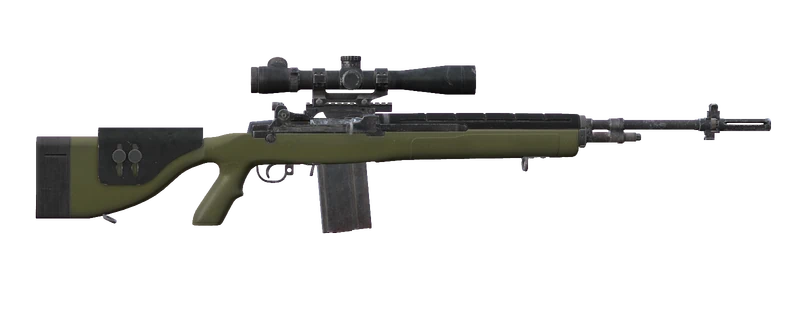 DMR, suppressors and the large magazines, in the military
and small-arms crates.
DMR, suppressors and the large magazines, in the military
and small-arms crates. - Kit — the good repair kits, duct tape and epoxy, plus first aid pouches in the medical crates.
- Lantia-only items — EMAC phased flow controller for a longer trip next time,
Hyper oxygenated blood, and the lore documents
 PRS Situational Report, December 3rd, 2011 and
 PRS special report, VEGA.n7-PAN.
If you brought the phased controller, the far end of that window is a sandstorm, and it is the
one piece of theatre in this game worth seeing once. It is also the thing that will kill you if you
watch it too long: C3 Sandstorm in effect means leave.
Loot fast, watch the clock, go home.
If it goes wrong
- The panel at Athena 2 does nothing. There is no EVR storm running, or it has moved past its early phase. That is the only condition, and the muon detector is how you stop guessing.
- The storm caught you and dropped you in the middle of nowhere. You did not start the FLAX reactor, or you were in a vehicle. Vehicles are never re-routed to Athena 3.
- You went through the portal and woke up on Namalsk. You went back after
Link stabilized. Everything after that message lands you at a random point on the island. - You blacked out on the way to Athena 1. The APSI was off, or in your bag rather than your face. It has to be in the eyewear slot and switched on.
- You are in the suit and still suffocating. It is not pressurised. It needs the battery and the oxygen tank; check both are fitted and neither is spent.
- The console rejected a module. A ruined module trips the facility alarm and shuts the sequence down without consuming anything. Check the health of the card and the locator before you travel.
- You cannot find a pulsar locator. You are looking in the wrong place. Two placements, both on the Phoenix oil rig.
- You printed the suit but have no helmet. They are separate items in separate slots. Both matter, and the helmet is also your only readout of the portal.
The short version
Print the suit at the oil rig. Take the card and the locator to the third basement of Athena 2, switch on a muon detector, and wait for a storm. Start the FLAX reactor, sprint to Athena 1, get caught by the anomaly, and loot Athena 3 while nothing is on a clock. Put the modules in the first-floor console, add a flow controller if you have one, and walk up to the third floor.
On the far side, listen to the helmet. Link stabilized is your last clean way home. Everything
after it is a long walk, and staying past the end of a phased window is not a risk, it is an ending.
The cold, the storms and frostbite are covered in the survival guide. The island's geography and what spawns where is in Namalsk on DayZed.
Last updated 2026-08-25