Quests, keycards and events
Tiered keycards, the map questlines they unlock, meteor crash events and the long road to Zaruun — what to grab first, and what quietly expires in your pocket.
Most of the good gear on DayZed sits behind a locked door, and keycards are how you get through them. A card found this morning can pay for a rifle, an equipment cabinet and a codelock before lunch — you do not need the whole quest chain to benefit from it. The questlines are just the same doors, in order.
Before anything else — every keycard runs on a clock. One handed to you out of a crate starts fresh; one you find lying in the world has been counting since it spawned there. Read the card in your inventory before you plan a trip around it.
Keycards
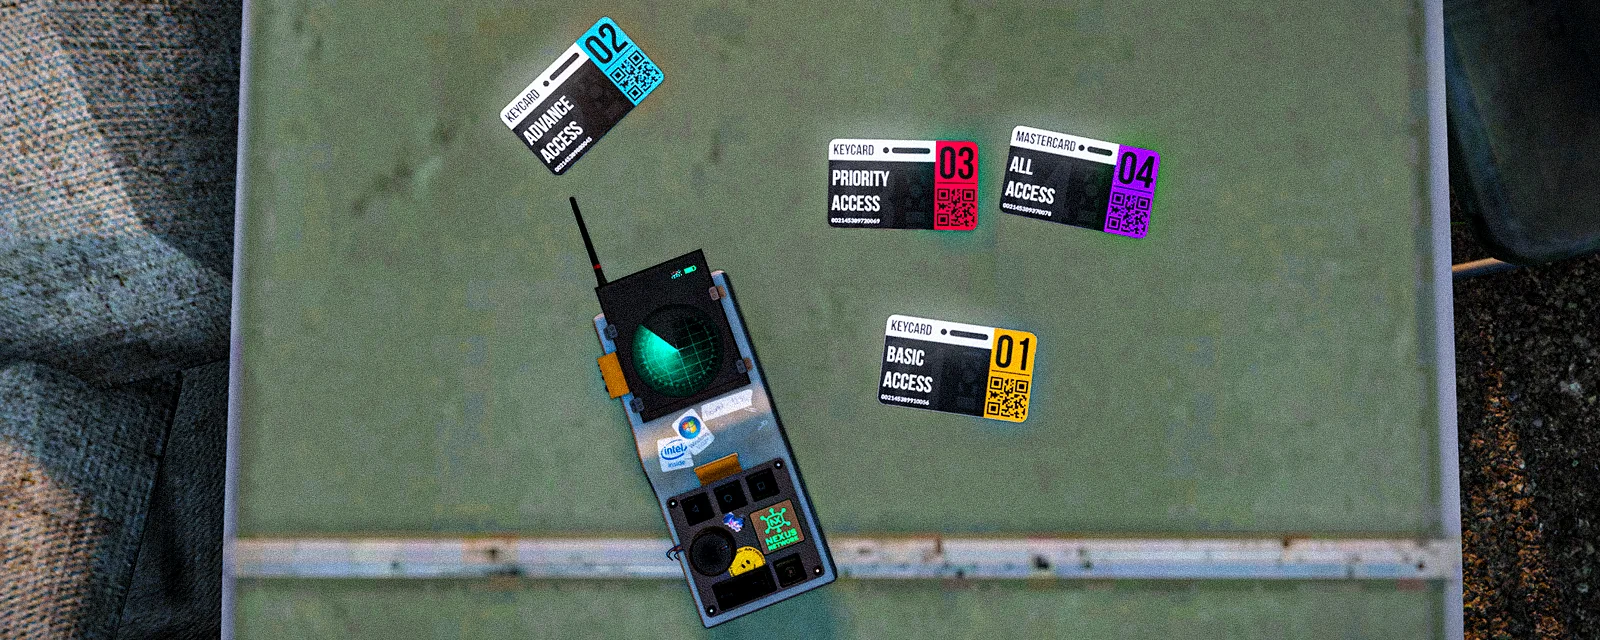
Cards are tiered, and the ladder is short — four rungs: 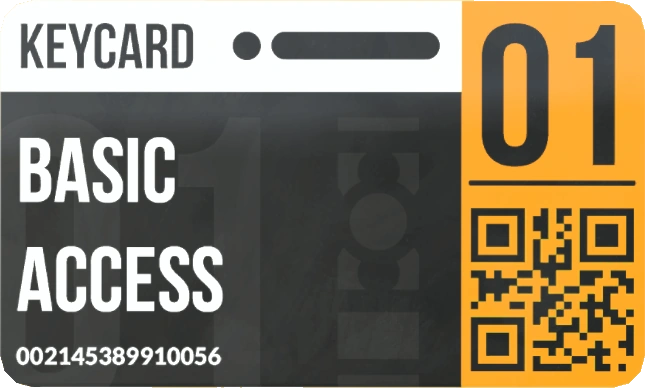 Tier 1 Keycard,
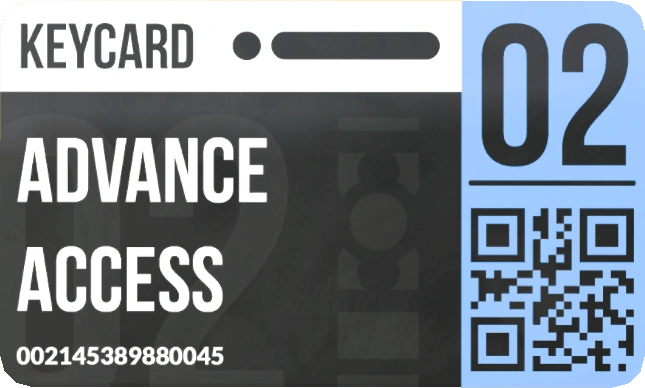 Tier 2 Keycard,
 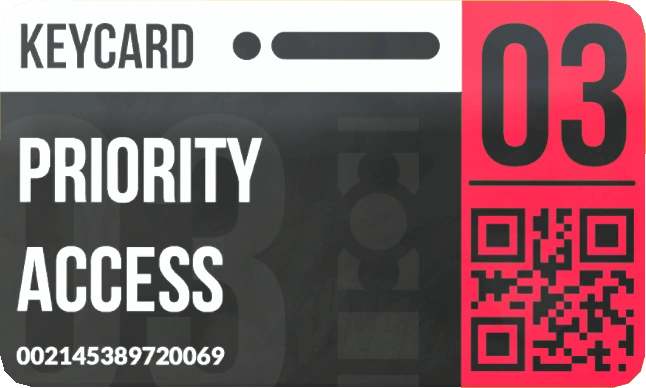 Tier 3 Keycard, and the Nexus card
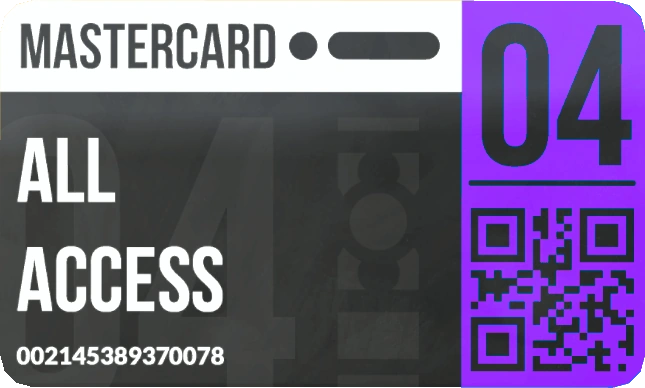 -. . -..- ..- ... at the top. Each tier opens doors and containers of its own tier, and a
card works anywhere on the shared quest network — Chernarus, Livonia, Namalsk, Sakhal and Stuart
Island.
-. . -..- ..- ... at the top. Each tier opens doors and containers of its own tier, and a
card works anywhere on the shared quest network — Chernarus, Livonia, Namalsk, Sakhal and Stuart
Island.
The cards are colour-coded and the tables on this wiki use the same colours, so a badge always matches the card in your hands: tier 1 yellow, tier 2 cyan, tier 3 red, tier 4 violet.
Four is the top of the ladder, for cards and doors alike — there is no Tier 5 card. "Tier 5" on DayZed means Zaruun, the endgame world at the end of the artifact chain, and no keycard opens that.
Only the Tier 1 card is out there to be found, and it comes from high-tier military loot — plus, on Chernarus, Sakhal and Stuart Island, a slim chance off a military infected. Helicopter crashes, convoys and the permanent gas zones do not produce keycards, whatever you have been told; loot them for other reasons.
Every card above Tier 1 comes out of the crate one tier below it, and that ladder is dependable rather than lucky: a Tier 1 crate always holds the Tier 2 card, a Tier 2 crate always holds the Tier 3 card, and a Tier 3 crate holds the Nexus card better than even odds on Chernarus and Stuart Island, a little under on Livonia and Sakhal. One Tier 1 card, spent in the right order, is the whole climb — and the only other way a higher card changes hands is off the body of whoever was carrying it.
They get used up, and they also run out
Two different things kill a card, and new players usually only know about the first.
Consumed on use. A card opens one door or one container and is destroyed — but only once the door has actually opened. A swipe that opens nothing costs you nothing: a door somebody already opened, or one still in the middle of its cycle, tells you so and leaves the card in your hand — and with the wrong tier in your hands you do not get the prompt at all. Decide what you are opening before you swipe, and never swipe a door just to see what happens.
Expiry. Every card carries its own countdown, and the higher the tier the longer it runs. Inspect it
and it tells you where it stands: Expires in: with the days and hours left, or a blunt
[EXPIRED] This keycard no longer functions. Not yet activated is neither of those — it means your game
has not been told that card's clock yet, so look again in a moment.
| Card | How long it lasts |
|---|---|
| Tier 1 Keycard |
… |
| Tier 2 Keycard |
… |
| Tier 3 Keycard |
… |
| -. . -..- ..- ... |
… |
- Expiry is switched on server-wide (…), and the countdown keeps running across server restarts — the card remembers when it was made, and nothing you do resets it.
- The clock starts when the card is made, not when you loot it — so where you got it matters. A card handed to you out of a keycard crate is made at the moment the door opens, and starts on a full tier's worth. A card you find lying in the world has been counting since it spawned there. Read it rather than assume it.
- Nothing in that table is written onto the card. The deadline is worked out fresh every time the game looks at it — when the card was made, plus whatever its tier is set to right now. Retune a tier and every card of it already in the world moves with it: a longer setting hands your card time back, a shorter one can retire a whole tier's worth at a stroke.
- An expired card does not vanish. It sits in your inventory looking like any other, and only the inspect text gives it away. It dies at the door — the swipe destroys it, "This keycard has expired and crumbles to dust!", the door stays shut and you have nothing to show for the trip.
Which doors exist, and where
Keycard rooms are built into the maps — sealed bunkers, security doors and locked quest containers. Players call them "bunkers", but they have nothing to do with the underground bases you dig yourself (Underground bunkers). There are fewer of them than most people assume, and this is all of them:
| Map | Keycard doors |
|---|---|
| Chernarus | Two Tier 1, one Tier 2, one Tier 3 |
| Livonia | One Tier 1, one Tier 2, one Tier 3 |
| Namalsk | One Tier 1, one Tier 2 — and no Tier 3 door at all |
| Sakhal | One Tier 1, one Tier 2, one Tier 3 |
| Stuart Island | One of every tier, including the network's only Tier 4 door |
What a door looks like tells you nothing about its tier. Every keycard door is one of four builds — a
small security door, a taller door, a wide gate, or that same gate in purple — and any build can guard any
of the four tiers: a gate is not automatically the high-tier one, and a plain door is not automatically the
bottom rung. The card settles it. Hold the one you mean to spend and walk up: the Swipe Card prompt only
appears when the card in your hands is the door's tier.
Reading that table is most of the planning:
- Namalsk hands out Tier 3 cards it cannot use. Its Tier 2 crate always contains one and there is nothing on the island to open with it. Travel it out (Nexus travel network) to Chernarus, Sakhal or Stuart Island while the clock still allows, or trade it away. This one catches almost everybody once.
- The Tier 4 door is not somewhere you can walk to. You open the location by using the
 Nexus Hacking Device on the Nexus; that brings up the portal, the portal drops you somewhere else
entirely, and the Tier 4 door is waiting on the other side. Only the card that hacked the antennas
opens it — see the Stuart Island section below. An ordinary -. . -..- ..- ... is refused
there and stays in your hand.
Nexus Hacking Device on the Nexus; that brings up the portal, the portal drops you somewhere else
entirely, and the Tier 4 door is waiting on the other side. Only the card that hacked the antennas
opens it — see the Stuart Island section below. An ordinary -. . -..- ..- ... is refused
there and stays in your hand. - Chernarus is the kindest place to start: two Tier 1 doors, so two runs at the bottom rung.
- Zaruun has a Tier 1 door of its own, but no crate loot behind it. Do not haul a card out there for it.
- A door does not stay open. It shuts itself again after roughly ten minutes on most of them, longer on a couple of the deep ones. Clear the crate and go; do not ferry loot back and forth.
Where the doors are is deliberately not written down here — finding them is the game. Players mark what they have found on the community map at https://map.dayzed.gg.
What is actually in the crates
A crate is not one loot roll. It works through a list of categories — weapons, ammunition, equipment, clothing, and on the higher tiers scopes and food — and rolls each of them separately. Most of the interesting ones are pick-one: the game runs down that category's list once and takes at most a single entry, each with its own chance, so a weapon category whose chances do not add up to a certainty can hand you nothing at all. The flat lists — ammunition, equipment — roll every entry on their own, which is why one crate can produce a card, a battery, a spraycan and a fistful of grenades at the same time.
Tier 1 — the first rung. Guaranteed: the next card up, an  OMON Ballistic Vest, a
  9V Battery,
boxed ammunition in the common calibres and a pair of trousers. The gun roll is one of
9V Battery,
boxed ammunition in the common calibres and a pair of trousers. The gun roll is one of 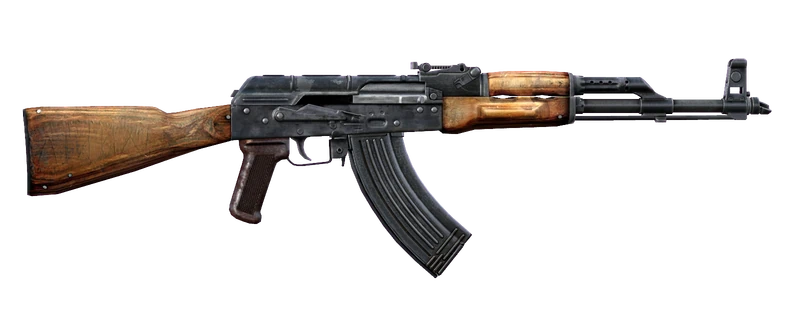 KA-M,
KA-M,
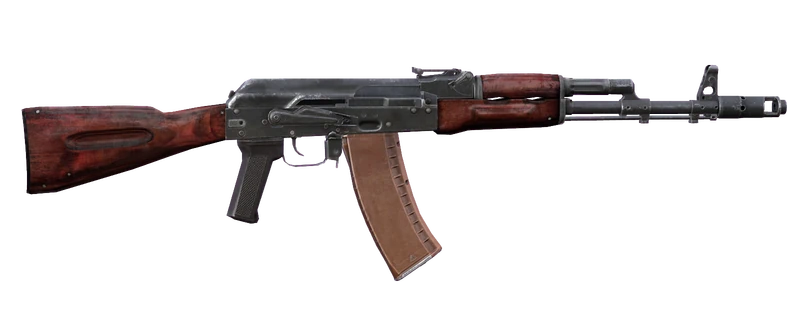 KA-74,
 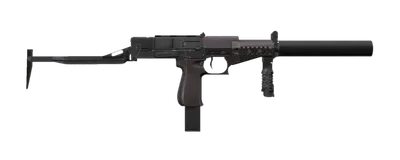 SR-2M Veresk or
 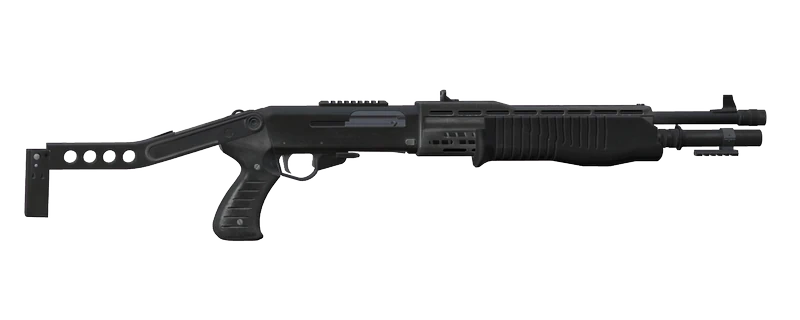 SPAS-12, attached and loaded, and it comes up empty
about as often as it pays. Backpack and vest get their own rolls and can miss too. The equipment list is
small change with the odd good day in it: a
SPAS-12, attached and loaded, and it comes up empty
about as often as it pays. Backpack and vest get their own rolls and can miss too. The equipment list is
small change with the odd good day in it: a 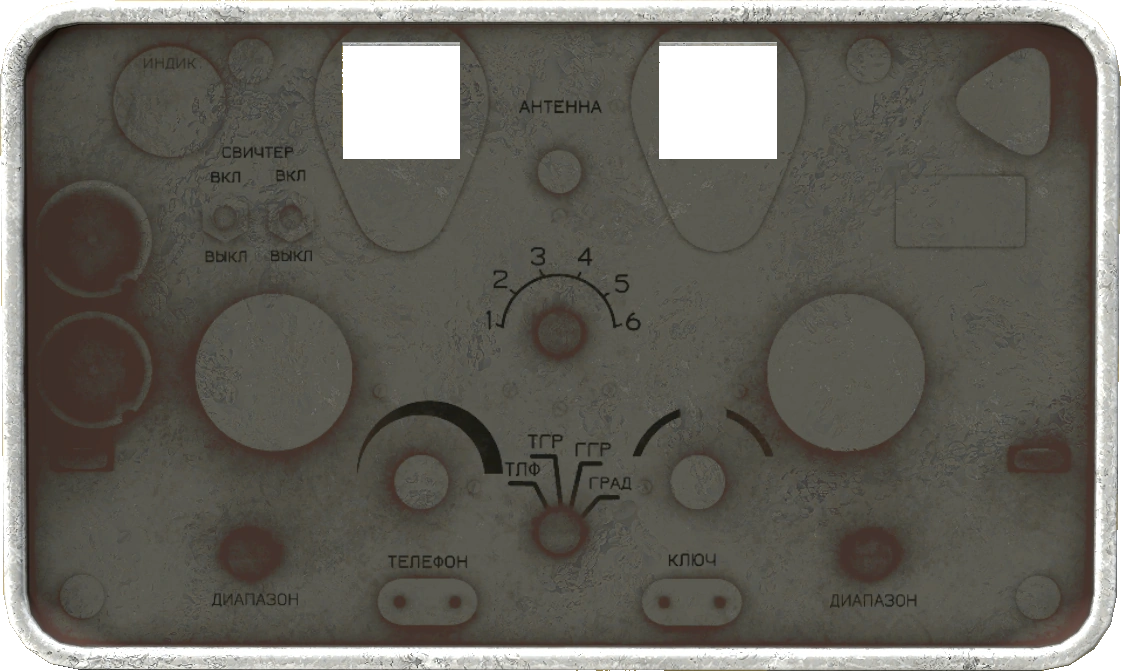 SecureZone Defense Unit Casing for the raid alarm,
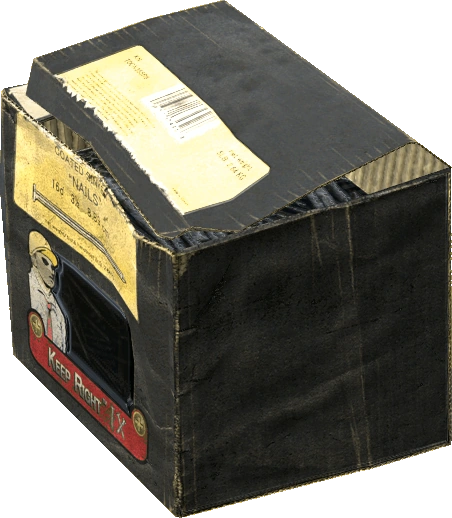 Boxed Nails, concrete blocks, and now and then a
 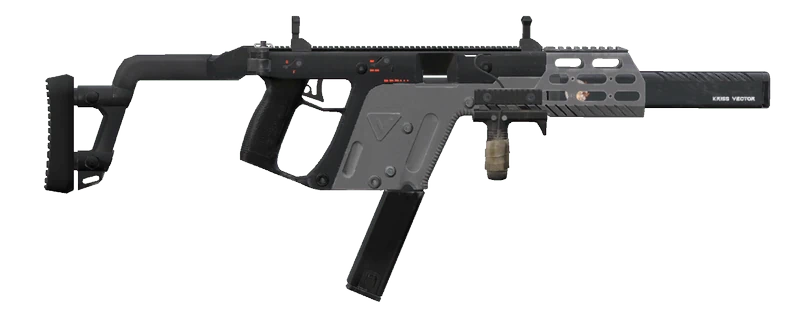 KRISS Vector.
Tier 2 — the working rifle crate. Guaranteed: the Tier 3 card, a spraycan, a battery, boxed ammunition
and a full change of clothes. The weapon list runs to a dozen-odd entries — 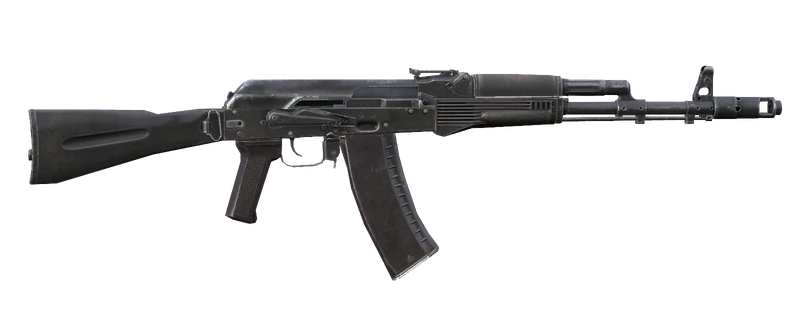 KA-101,
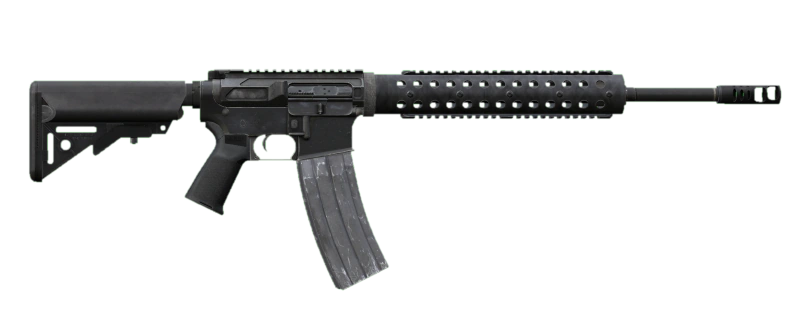 MK12 SPR,
 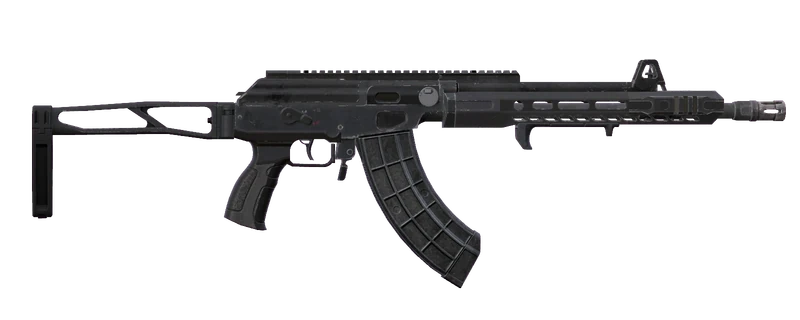 Galil ACE,
 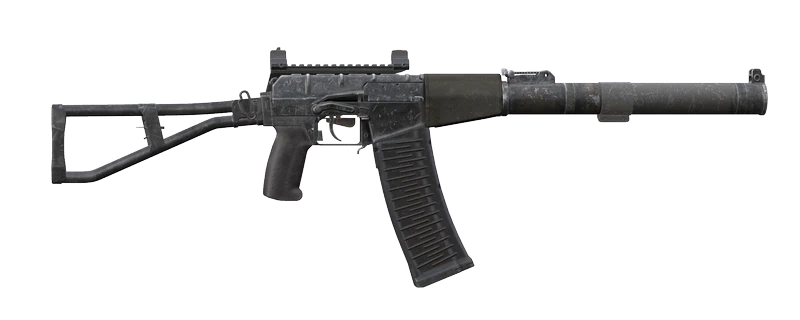 SVAL,
SVAL, 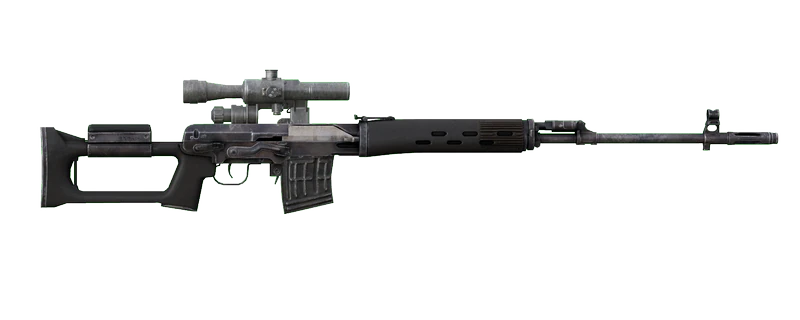 VSD,
VSD, 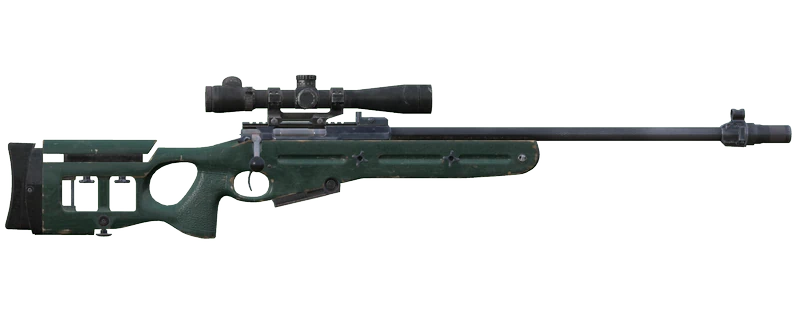 VS-89 and the like,
all kitted out — and one of them lands most of the time. The equipment list is where the base-building value
sits: the three alarm circuits, a codelock, nails and concrete blocks, grenades, plate carriers, spare
magazines and a Drill. Namalsk stacks its Tier 2 crate noticeably richer:
it is the one that can also turn up a Nexus Hacking Device, a
VS-89 and the like,
all kitted out — and one of them lands most of the time. The equipment list is where the base-building value
sits: the three alarm circuits, a codelock, nails and concrete blocks, grenades, plate carriers, spare
magazines and a Drill. Namalsk stacks its Tier 2 crate noticeably richer:
it is the one that can also turn up a Nexus Hacking Device, a 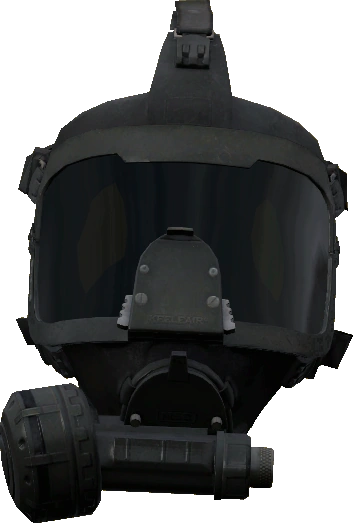 Advanced Nexus Gas Mask or a raid alarm
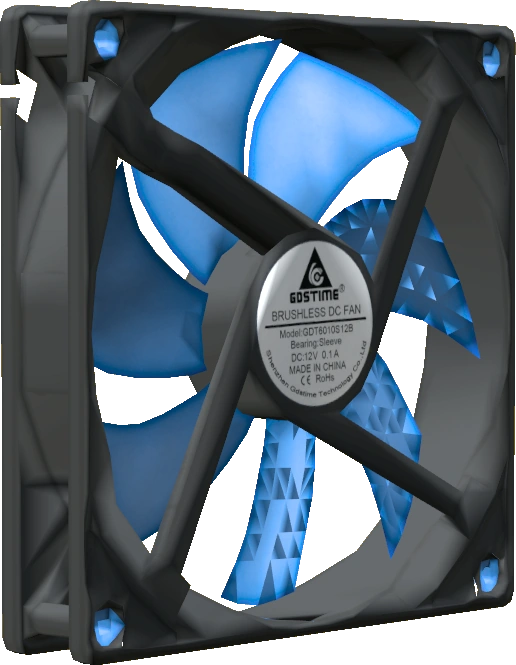 Fan, carries a sliver of a chance at an
 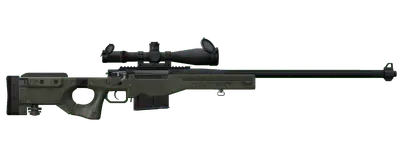 AWM or
 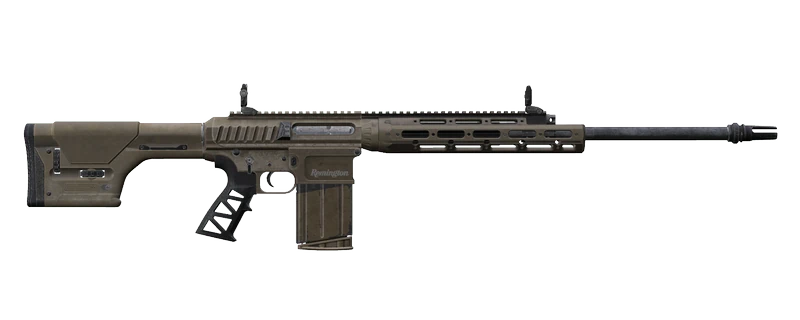 R11 RSASS, and
holds a codelock roughly half the time instead of the usual sprinkling.
R11 RSASS, and
holds a codelock roughly half the time instead of the usual sprinkling.
Tier 3 — the endgame supply run. Guaranteed: a codelock, an alarm circuit, batteries, food and drink, a
full outfit, and a scope — which of them you get is luck, and the 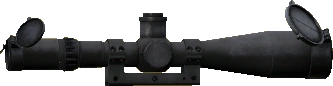 Schmidt & Bender 5-25x56 PM II is in that pool.
Often: the Nexus card, a
Schmidt & Bender 5-25x56 PM II is in that pool.
Often: the Nexus card, a 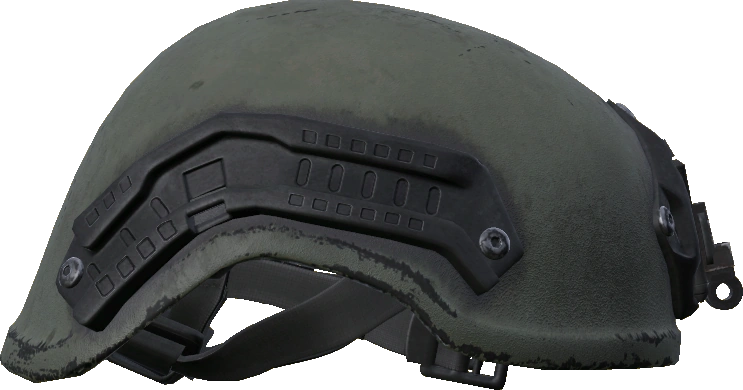 Tactical Helmet, magazines, nails. Sometimes:
  Plastic Explosive,
a Advanced Nexus Gas Mask and its antidote, a plate carrier, and on Chernarus, Livonia and Sakhal
about a third of the time the Nexus Hacking Device itself — Stuart Island's Tier 3 crate is the one that
never carries it. Rarely, and this is what people actually queue for — call it one in a hundred —
Plastic Explosive,
a Advanced Nexus Gas Mask and its antidote, a plate carrier, and on Chernarus, Livonia and Sakhal
about a third of the time the Nexus Hacking Device itself — Stuart Island's Tier 3 crate is the one that
never carries it. Rarely, and this is what people actually queue for — call it one in a hundred —
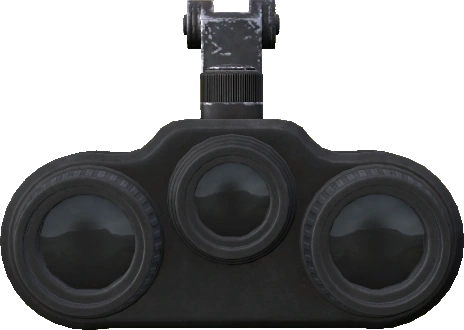 Night Vision Goggles, AWM or R11 RSASS.
Tier 4 — Stuart Island only, and it pays. There is no keycard inside it; the ladder ends here.
Guaranteed: a 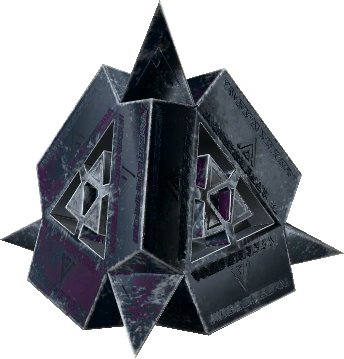 Arca Primaris, a Plastic Explosive, a wrapped universal suppressor in
whatever colour comes up, a raid alarm Fan,
Arca Primaris, a Plastic Explosive, a wrapped universal suppressor in
whatever colour comes up, a raid alarm Fan, 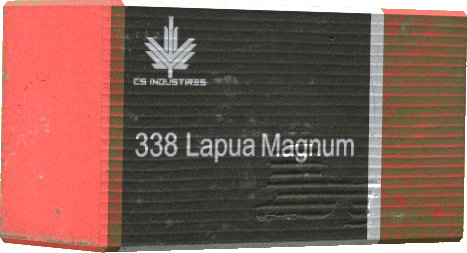 .338 Lapua Magnum Rounds, a
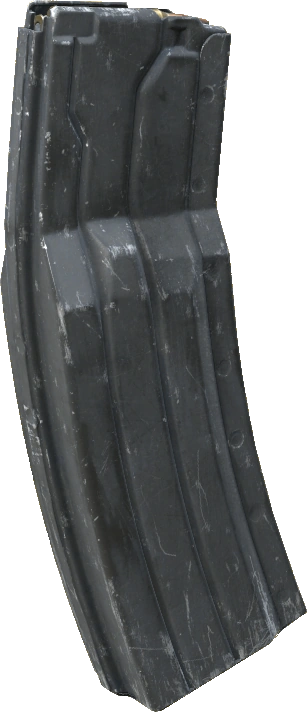 60rd Standardized Mag, batteries and nails. Then two weapon rolls instead of one: an AWM
most of the time or a
60rd Standardized Mag, batteries and nails. Then two weapon rolls instead of one: an AWM
most of the time or a 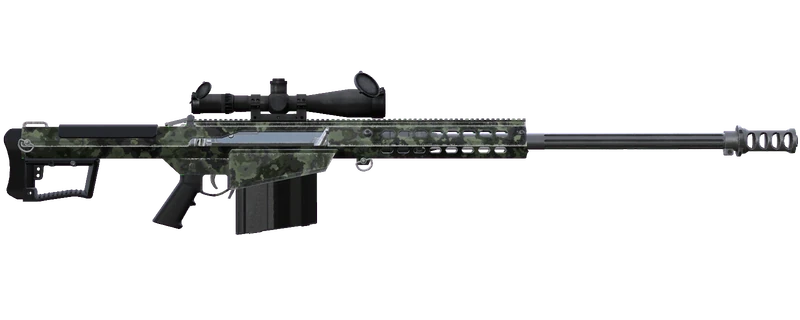 Barret M107A1 the rest, and on top of that a
 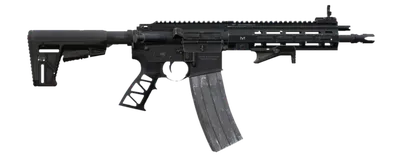 HK416 or a
R11 RSASS. Half the time it also holds a Nexus gas mask and antidote, which is a real head start
on the Zaruun trip.
HK416 or a
R11 RSASS. Half the time it also holds a Nexus gas mask and antidote, which is a real head start
on the Zaruun trip.
Codelocks come out of keycard crates. You cannot craft one, so this is the dependable supply: every Tier 3 crate holds a codelock, and the Tier 1 and Tier 2 crates carry one somewhere between a fifth and half the time. If a hatch or a gun cabinet of yours is standing open for want of a lock, a low-tier keycard door is a far shorter job than hunting one in the wild. The same rooms are also the reliable source of raid alarm parts, Drills and top-tier weapons — but no crate contains a locker, cabinet or fridge kit, so do not open one hoping to furnish a base.
Every item that can come out of a crate lists the keycard rooms it comes from on its own page, tier and map included — so if you are chasing one particular rifle, look that gun up rather than reading the whole table.
The questlines at a glance
Routes, exact locations and loot tables live in the guides channel on Discord. This is the shape of them, not a walkthrough.
Chernarus — the northern bunkers. The whole north was rebuilt around a tiered keycard line. The Tier 2 bunker at Tisy is clear on first entry and needs only a light source, but once anyone has been inside, re-entering means gas and a full NBC suit; a countdown inside warns you before it floods.
Livonia — the mine. A tiered line running all the way to Tier 3, the Armoured Mine being the
one people mean by "the Livonia bunker". Its underground loot is one of the few places a raid alarm
Fan turns up at all; the Tier 4 crate on Stuart Island is the only place one is certain.
Namalsk — the Gauss chain and the oil rig. The hardest map and the deepest chain, running through the orb and the lab into Lantia, and the only source of the Gauss rifle. The Phoenix oil rig is where the space suit gets printed — once its main door is open you get roughly a quarter of an hour before the place floods with gas.
Sakhal — the frozen line. Its own tiered line, including a permanently gassed high-tier location, plus the scientists near the volcano carrying the suitcases punched cards come out of. Needs the Frostline DLC to reach.
Stuart Island: hacking the antennas
This is the big one, and the route that currently leads to Zaruun. The Nexus Hacking Device works only on
Stuart Island, and only on the island's Nexus stations. Before it does anything it needs a
9V Battery and a Tier 4 card, -. . -..- ..- ..., slotted into the device itself —
into the device, not a door.
- The first hack binds the grid to your card. Whichever Tier 4 card sits in the device for the first antenna is the only card that can hack the rest of the chain. Anyone else's card is refused, and the refusal costs no battery. Bring that card along for the whole run.
- You can start on any antenna, but after that the chain runs in order, and only the next antenna in line can be hacked.
- The device shows you the way. After each hack, a device holding the bound card switches itself on as a radar locked onto the next antenna, with the distance in metres. It stays locked on that target until the chain is done — you cannot switch its mode while it is guiding you.
- The first two hacks are silent. From the third hack on, the next antenna rumbles with a loud repeating sound at its position — anyone within earshot knows where the hunt is going.
- Each hack is Hack Nexus Station, a long stationary action that eats a chunk of battery. Bring several batteries — one will not finish the chain.
- There is a time limit between antennas. Take too long reaching the next one and the whole chain resets to zero. Finish the run in one sitting, and do not start it with a restart due.
The weather turns against you as you go, and when the last antenna falls it becomes night and a portal rises out of the ground in the middle of the map. The ground shakes for everyone as it comes up, and the open portal sits inside a toxic gas cloud — bring a gas mask, or you will not reach it.
The activated card
The card that is in the device for the final hack becomes activated: it glows violet, hums, and its face counts down the time it has left — about an hour — before it crumbles to nothing, wherever it is.
While you carry it anywhere in your inventory you get:
- Unlimited stamina that ignores your load — the stamina bar turns purple with an ∞.
- No shock and no knock-outs.
- Purple night vision, on the NVG key, that also works through scopes.
- Immunity to the portal gas — the card bearer needs no mask.
Beyond the portal is a short rock path with some vaulting, then a hall whose door is the network's only Tier 4 door. It opens only for an activated card. Any other Tier 4 card is refused and kept, so nobody can camp the portal and walk in with a card of their own. Swiping uses the activated card up as usual, but the player who swiped keeps the stamina and the night vision until they leave through the exit portal, die or log out.
Meteor events
When a meteor is inbound the whole server gets a global "lightning storm" announcement. Neither this nor the pyramid's lightning will knock you out or hurt you — only a Namalsk EVR storm does that. Two different events throw lightning here: a meteor coming down, and the Zaruun pyramid rising once someone completes the artifact chain. You can hear a meteor burn in, and crash sites smoke heavily, so in the right area you find them by eye.
Meteors fall on four maps — Chernarus, Livonia, Namalsk and Sakhal. Stuart Island and Zaruun never get one.
- A pickaxe is the tool, and any pickaxe will do — the plain
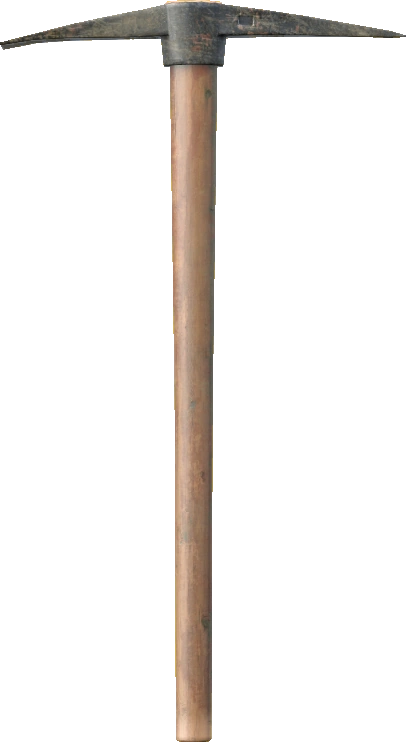 Pickaxe out of a shed works exactly
like the Reinforced Pickaxe. Hold it and use Mine Meteor on the
Pickaxe out of a shed works exactly
like the Reinforced Pickaxe. Hold it and use Mine Meteor on the
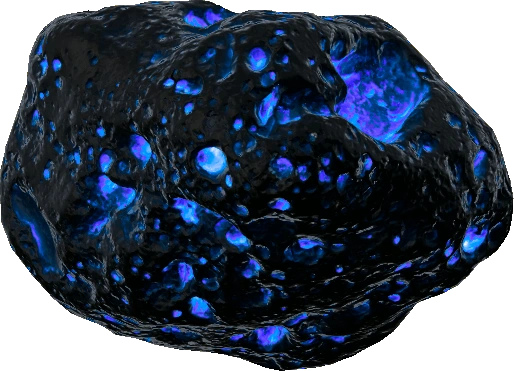 Meteorite. No other tool gets the prompt.
 - It is about a minute of standing perfectly still, in the open, at a spot the whole server was just told about. Bring someone to watch the treeline.
- Mining ruins the pickaxe. One pickaxe, one meteorite. Carry spares.
- You get Meteor Fragments, and the meteorite spills the rest of its contents on the ground before it disappears — sweep the crater before you leave.
Fragments are the Zaruunium material — they upgrade a bunker wall or door to the toughest tier (Bunker walls, doors and tiers). The artifact fragment in the same crater is the piece that matters for Zaruun — see that guide.
The hack device warns you first
The Nexus Hacking Device is the early-warning system. Any device with a
battery in it alerts you — in your hands or in your backpack, switched on or off. There are no pop-ups;
the device beeps, flashes its alert icon and puts the details on its screen:
- About an hour before impact — METEOR FORECAST. An announcement tone, and the screen names the map the meteor will fall on, with a countdown.
- About a quarter of an hour before impact — IMPACT WARNING. An alarm, and the screen gives a rough area: the distance to it and a spread of a couple of hundred metres. The crater will be somewhere inside that circle, not necessarily at its centre.
- At impact — METEOR DOWN. The alarm again, and the screen names the map.
To walk onto the crater, switch the radar's search mode to Meteor — the search-mode switch is on F — and follow the rising beep.
Zaruun
Zaruun is not somewhere you can pick from a Nexus station (Nexus travel network) — you reach it through the quest chain or not at all. The full chain has its own guide; this is the short version.
- Access is gated on four artifact fragments, one from each of four maps, plus the carrier they seat into. It is deliberately a network-wide job; no single map gets you there.
- Do not confuse those fragments with Meteor Fragments. Both come out of a meteor, but the meteor fragments are Zaruunium — bunker-wall material — and have nothing to do with reaching Zaruun.
- To breathe you need the Advanced Nexus Gas Mask. A full NBC suit is not required — people burn a
lot of effort assembling one they never use. The atmosphere there chews through filters far faster than an
ordinary contaminated zone, which is why it takes that mask and not a normal one; bring spares.
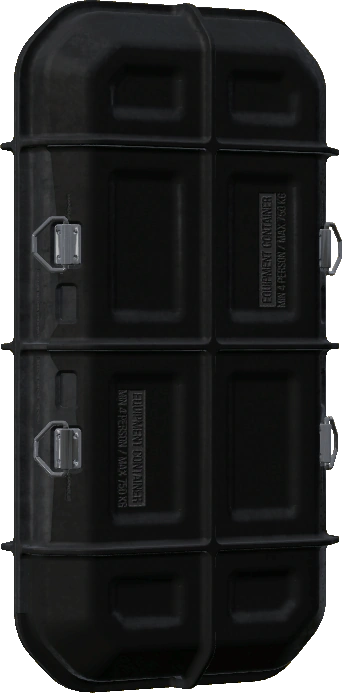 Nexus Fiber Repair Kit spawns only on Zaruun, at the statues and obelisks, nowhere else in the
network. It is the only thing that repairs the space suit, so the trip is worth making even for people who
already own one (Zaruun suit repair and medicine).
Nexus Fiber Repair Kit spawns only on Zaruun, at the statues and obelisks, nowhere else in the
network. It is the only thing that repairs the space suit, so the trip is worth making even for people who
already own one (Zaruun suit repair and medicine).
Artifacts and the pyramid
Four maps each hide their own artifact fragment, dropped by that map's meteor. They all seat into one
carrier, the Arca Primaris — the Tier 4 crate on Stuart Island always holds one — and the
filled carrier seats into 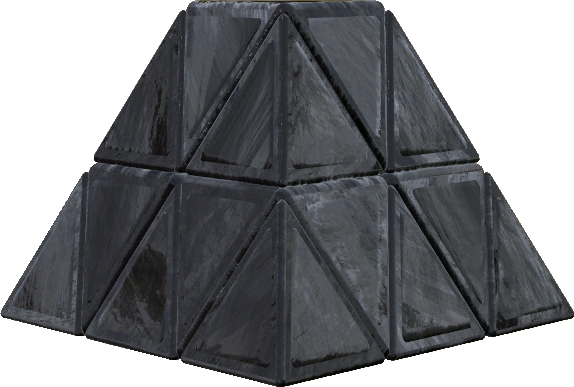 Pyramis Zaruun, the pyramid, which appears on every map and on
all of them at once when it does.
Pyramis Zaruun, the pyramid, which appears on every map and on
all of them at once when it does.
The pyramid's portal runs daily and it is live. Seating a full carrier opens it for the whole network at once, and it stays open for a while before closing again. The Stuart Island hack is a different portal that moves you around that island — it is a step on the way, not the road to Zaruun.
The whole chain, end to end, is in its own guide.
What goes wrong
- You went hunting for a Tier 5 card. There is no such thing. The top card is the tier 4 Nexus card, and "tier 5" on DayZed means Zaruun.
- You saved a Tier 3 card for a Namalsk door. There is no Tier 3 door on Namalsk. Travel it out.
- The card expired in your pocket. Read it before you travel, not at the door.
- You carried the whole collection into a firefight. You drop everything when you die, cards included.
- You brought one pickaxe to a meteor. Mining destroys it, and the event will not wait.
- You built an NBC suit for Zaruun. The gas mask is the requirement; the suit is not.
See also: Keycards and keycard rooms, Nexus hacking device, Stuart Island, Meteor crash and mining, Zaruun, Artifacts and the pyramid, Space helmet, the travel map and the guides channel on Discord.
Last updated 2026-09-28