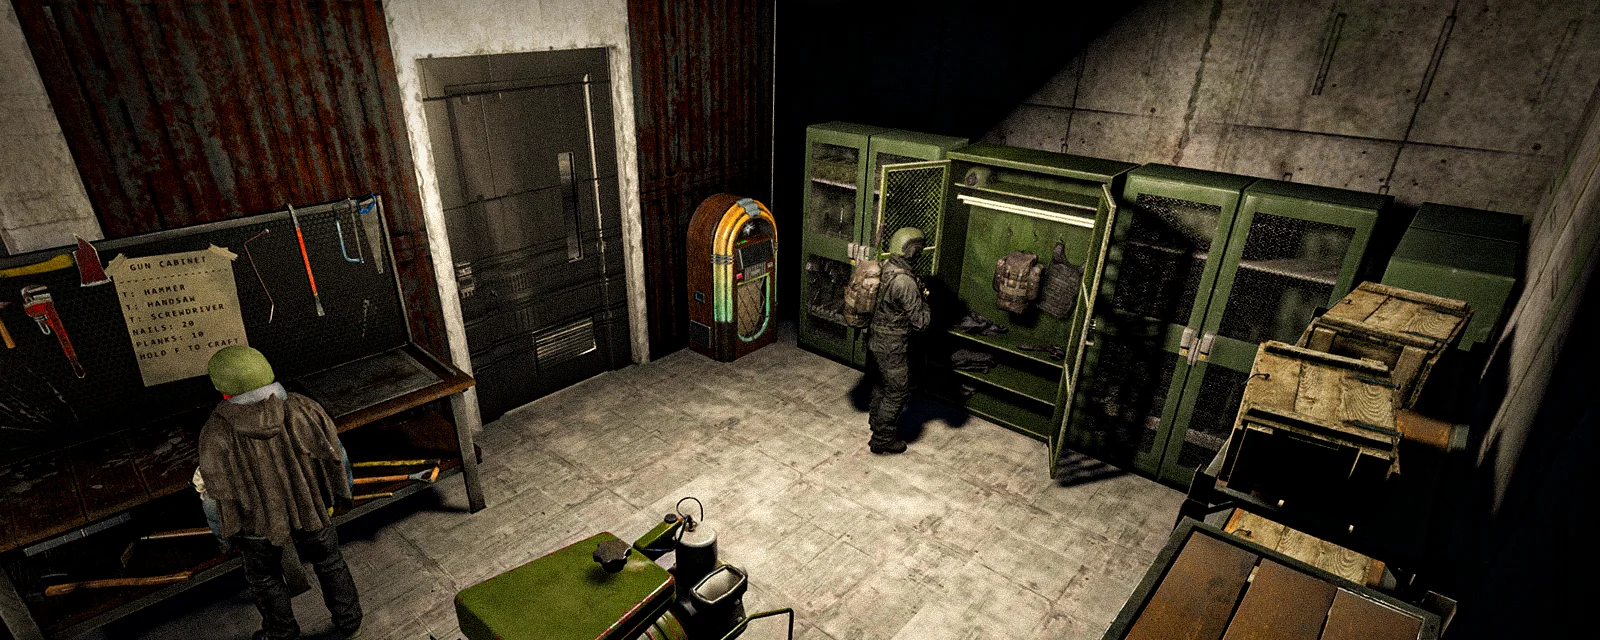
Underground bunkers
Dig a hidden entrance, lock a hatch behind you and expand a private underground base room by room — where you are allowed to build one, what each step costs, and what it takes to lose it.
A bunker is the only base on DayZed that somebody cannot simply shoot their way into. You dig a hole in open ground, build a hatch over it, put a codelock on the hatch, and everything below is yours — a full underground shell with rooms you open up and wall off as you go.
There is exactly one way in and one way out, and that door is the toughest object on the server. Nothing you own above ground comes close.
What you are actually building
Two things get created the moment you finish the hatch:
- A Bunker Hatch on the surface. It is small, it sits flush in the ground, and in long grass or on a slope it is genuinely easy to walk past. That is the whole point — a bunker nobody finds is a bunker nobody raids.
- A prebuilt underground shell linked to that hatch. It already has its full footprint of rooms; they are just walled off from each other until you open them.
The shell itself cannot be attacked. Only the hatch can, and it is deliberately brutal to get through: bullets land at barely a sixth of their normal damage, melee is almost pointless, and the hatch can never be fully destroyed — its health is floored, so even a fully raided one survives as a blown-open shell. Explosives are the only realistic way in; the full picture is in Raiding and repairing bunkers. Every bunker also spawns two information boards on the interior wall, one for the hatch and one for walls and doors, worth a read the first time you go down.
Where you are allowed to dig
This is the question people get wrong most often, so plainly — and every list below is read from the servers as you load this page, so they stay right when a map joins the network or a switch is flipped:
- You can dig on Event, Namalsk and Stuart Island.
- You cannot on Chernarus, Livonia, Sakhal and Zaruun.
Digging and surface building are separate switches, so do not read either list as the opposite of the other — some maps allow one, and some allow neither:
- Normal above-ground bases — fences and watchtowers — can be built on Chernarus, Event, Livonia and Sakhal.
- On Namalsk, Stuart Island and Zaruun there are no surface bases at all. Where that overlaps the digging list, a bunker is the only base you can have; where it does not, the map has no player base building of either kind.
One thing no switch can tell you: on Namalsk you may only dig south of the Sebjan Dam, which includes Tara Island. Building on the ice is fine as long as you are not inside a marked no-build zone.
You do not have to memorise any of it. Whether the server lets you dig here is set per map, and if you are not allowed to dig where you are standing, the dig prompt simply never appears. No wasted effort, no failed action. Two more limits sit on top of the map rule: no-build zones block digging everywhere — they are marked on map.dayzed.gg — and a bunker must be at least 100 m from a Nexus station, so pick a spot away from the travel network (Nexus travel network).
Flag poles have nothing to do with bunkers. They are not required, not recommended and not functional for an underground base — a flag will not protect it, will not stop anyone dismantling anything, and will not extend its life. Access is controlled by the codelock on the hatch and nothing else. People ask this every wipe; the answer never changes.
Digging the entrance
You need a 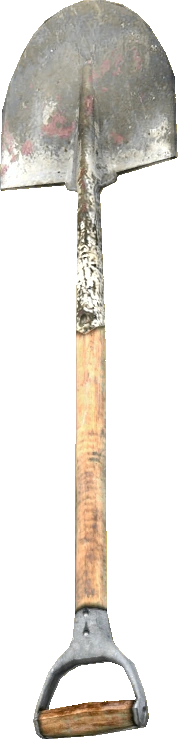 Shovel or a
 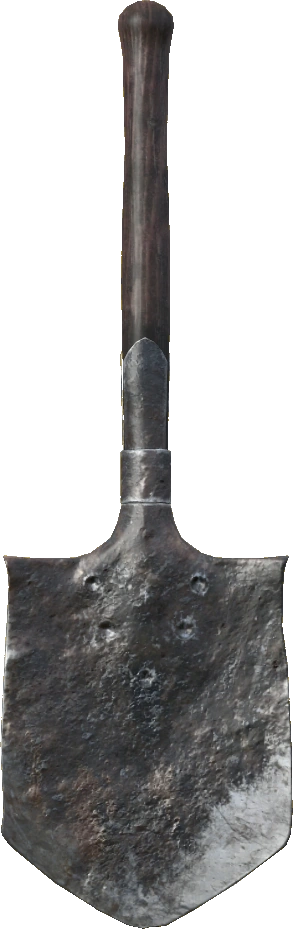 Field Shovel. A
 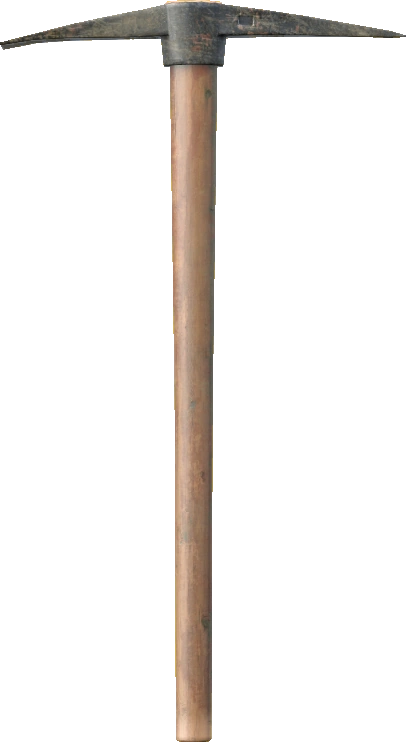 Pickaxe cannot dig a
bunker — it has a different job later on, and confusing the two costs people a trip.
Pickaxe cannot dig a
bunker — it has a different job later on, and confusing the two costs people a trip.
Hold the shovel and take Bunker Hatch Placement first — that puts up a ghost of the mound you are about to dig. Walk it around until it sits green, then hold Dig Bunker Entrance to commit. It is a full-body animation of about a minute, you are stuck in it, and you are completely exposed while it plays. Do it somewhere quiet. The ghost turns red where the ground is too steep, too cluttered or not diggable, and two things block the dig outright: the surface has to actually be diggable (rock, concrete and roads are not), and —
- you cannot dig within about 39 m of an existing hatch or mound.
When it finishes you get a Bunker Entrance Mound — a mound of earth with empty material slots on it. Choose your spot before you dig, because the mound cannot be moved. An untouched mound disappears on its own after 24 h; attaching any build material resets that timer, so a half-finished mound you are actively feeding will not vanish.
Building the hatch
Attach the build materials to the mound — each slot shows how much it wants and how much it has, so you can see at a glance what is still missing. The full cost is:
- 20 wooden planks, 50 nails, 6 wooden logs and 5 sheet metal.
Then take a 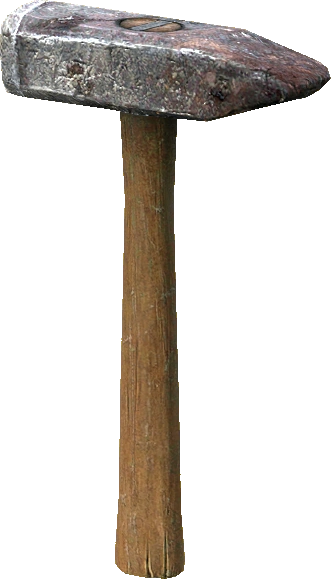 Hammer or
 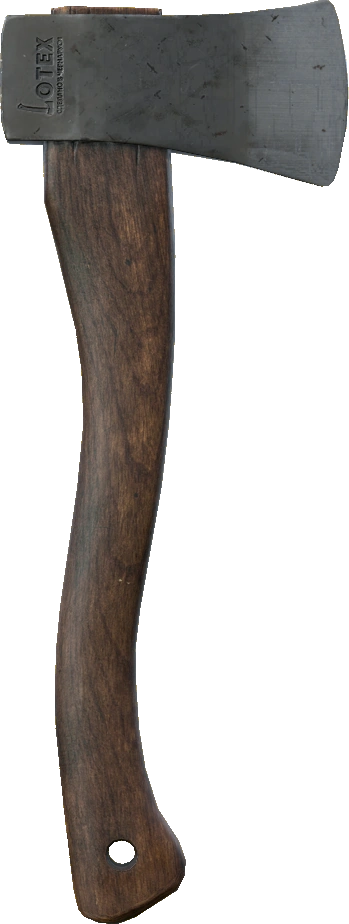 Hatchet and use Build Hatch.
The mound turns into the hatch and the shell spawns underground, linked to it. That is the whole
build; from here everything else is done from the inside.
Hatchet and use Build Hatch.
The mound turns into the hatch and the shell spawns underground, linked to it. That is the whole
build; from here everything else is done from the inside.
The hatch and the codelock
A freshly built hatch is unlocked, which means anyone who finds it can walk straight in. Fitting a lock is the single most urgent thing you do. Hold a codelock in your hands and use Attach Codelock — it attaches and opens the code menu straight away.
What the lock actually controls:
- Entry. Only the lock's owner and the guests they add can open the hatch. Anyone else gets the passcode prompt instead of the entry prompt.
- Everything structural inside. Breaking through a divider wall, repairing a wall or door and dismantling one are all gated on that same lock, so raiders who blow their way in cannot use them.
- Interior doors too. A door you build inside can take its own codelock, on top of the hatch's.
Things worth knowing before you go hunting for one:
- Codelocks cannot be crafted. They are found only, and they are genuinely rare — heli crashes, industrial areas and the crates in keycard locations are the usual sources.
- Only keypad codelocks exist here. The vanilla dial-style combination locks do not spawn at all, so do not waste time looking for them.
- Dismantling anything with a codelock on it now requires knowing the code. That covers gates and doors, not just the hatch.
- Hacksaws do not defeat codelocks. If a lock ever shows you a health bar or looks saw-through-able, that is a bug — report it rather than relying on it.
A 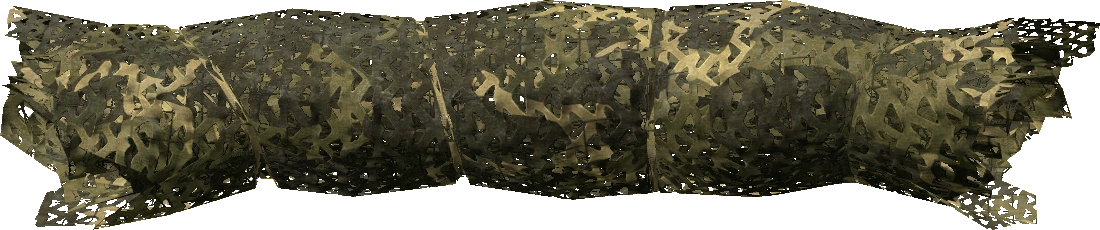 Camo Net goes in a slot on the hatch and visibly drapes over it, which is worth more than
it sounds on open ground. Only people on the codelock can put one on or take it off.
Camo Net goes in a slot on the hatch and visibly drapes over it, which is worth more than
it sounds on open ground. Only people on the codelock can put one on or take it off.
Going in and out
Aim at the hatch and take Enter Bunker. What happens next looks alarming the first time: your screen goes black immediately, a loading bar and a few status messages appear while the interior streams in, a short countdown runs, and then you are teleported inside facing down the entrance corridor. This is normal. It is not a crash, a freeze or a desync. Sit through it — once the entry starts it runs to completion by itself, and there is no cancelling it halfway.
Several people can go through the same hatch at once — you do not have to wait for your teammate's transit to finish. While your own transit runs you cannot move or start anything, and it simply carries on until you arrive.
To leave, stand near the interior entrance door, look at it and take Exit Bunker. The prompt has a generous catch radius, so you do not have to hit the thin door frame exactly — looking at the floor or wall near the entrance is enough.
Do not start an entry shortly before a server restart. The entry is a multi-stage teleport, and a restart landing in the middle of it is exactly the situation you do not want to be in. If a restart is close, wait it out on the surface.
Opening up the rest of the bunker
Your new bunker's rooms are separated by dirt and rock divider walls. These are not walls you built and not walls you can treat like walls — they are the bunker's own shell, and unlike anything you build they simply cannot be damaged. Bunker Dirt Wall panels are the ordinary dividers; Bunker Rock Wall ones are solid granite, and they ring the deepest rooms.
They cannot be blown open at all. Bullets, melee, grenades and plastic explosive do nothing to a divider — the impact plays and the wall is untouched. Ignore the in-game description on them, which still says they are vulnerable to explosives; it is out of date. The only thing that opens a divider is the owner paying for the room beyond, so a raider who gets through your hatch gets the rooms you have already opened and nothing else.
Your way through is to pay for the room beyond: hold a Pickaxe in your hand first then attach all the materials to the Slots by accessing your inventory. After that use Break Through Wall. What that costs depends on which
kind of divider you are opening:
- A dirt divider: 6 wooden logs, 2 cinder blocks and 50 nails.
- A rock divider: 10 wooden logs, 4 cinder blocks and 99 nails.
All three sit in attachment slots on the wall, so you can stage them over several trips and see what is still missing. They are consumed when the wall comes down — think of it as buying the room rather than demolishing something. The rock dividers guard the deepest rooms, and those are the expensive layers: every wall you open on the way in costs its own set of materials, and a rock layer costs a noticeably bigger set than a dirt one. Cinder Block is one of the rarest building items on the network. A big bunker is a long-term project.
Building your own walls and doors
Everything above is the shell. Partitioning the rooms — corridors, airlocks, a locked back room — is done with kits you craft and place yourself. Both are made at a workbench; hand-crafting bunker kits was removed in the 2026-08-21 update, so a bench is now a prerequisite (Workbench).
| BUNKER WALL T1 | |
|---|---|
| Makes | Bunker Wooden Wall Kit |
| Cost | 12 ×  Nails, 8 × Nails, 8 ×  Plank Plank |
| Tools | Hammer |
| Note | Hand-crafting of bunker kits was removed on 2026-08-21; workbench only. |
| BUNKER DOOR T1 | |
|---|---|
| Makes | Bunker Wooden Door Kit |
| Cost | 16 × Nails, 8 × Plank |
| Tools | Hammer, 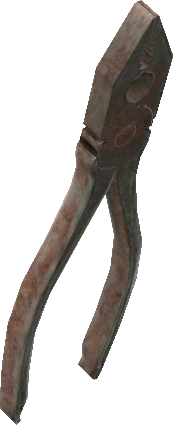 Pliers Pliers |
| Note | Hand-crafting of bunker kits was removed on 2026-08-21; workbench only. |
To place one, hold the kit and a ghost preview appears. It snaps to the bunker's own wall slots — you cannot place a wall at a random angle in the middle of a room. The preview turns green where the placement is valid and red where it is blocked. Green, place, done.
Doors work like any door once built: Open Door to open and close, and a codelock of their own if you want a room inside the base that not everyone can reach.
Upgrading walls and doors
A wall or door is never rebuilt — it is upgraded in place, in this order:
Wooden → Metal → Concrete → Zaruunium
Stand in front of it with a Hammer or Hatchet, attach the material to the
wall's upgrade slot, and use Upgrade Wall. The upgrade costs the tool some
durability. Your furniture and stored loot stay where they are.
| Tier | Wall health | Door health | Upgrade material |
|---|---|---|---|
| Wooden | 24 000 | 12 000 | built from the kit |
| Metal | 36 000 | 18 000 | sheet metal |
| Concrete | 76 800 | 38 400 | cinder block |
| Zaruunium | 120 000 | 60 000 | meteor fragment |
The exact material cost per step:
- Metal: 2 sheet metal (
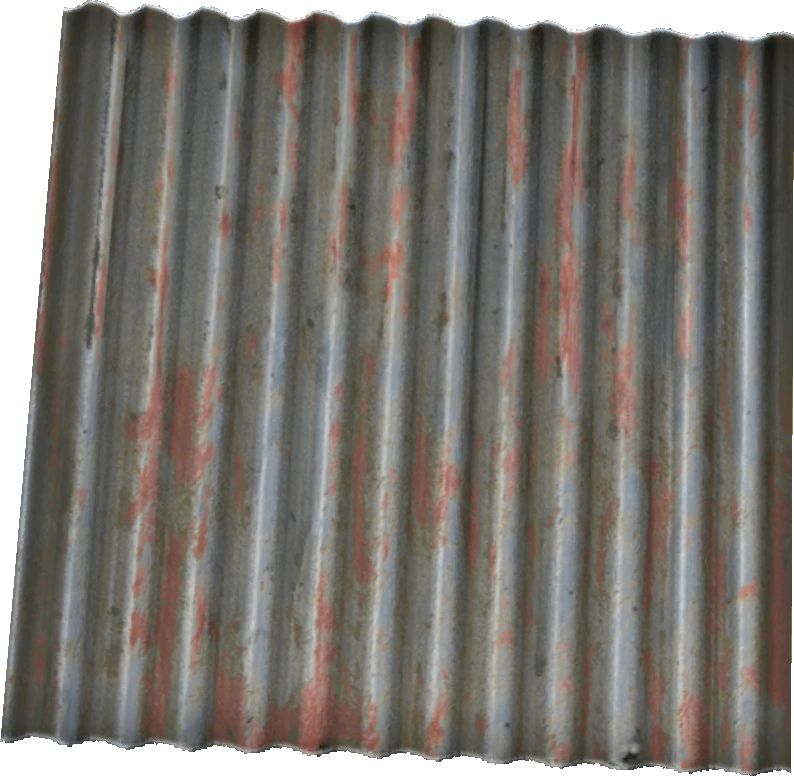 Sheet Metal).
 - Concrete: 1 cinder block (Cinder Block).
- Zaruunium: 1 meteor fragment (Meteor Fragments).
- Walls also want a binder of 12 nails in their own slot alongside the material.
Two things to take away from that table:
- A door is weaker than the wall next to it at every single tier. Doors are always the soft spot in a bunker, so plan around them: put the door where a raider has to work for it, and upgrade doors before you upgrade the walls beside them.
- Concrete and Zaruunium were made considerably tougher in the 2026-08-21 update. If you read older numbers in Discord, they are out of date — the top two tiers are now a real jump rather than a small one.
Repairing a damaged wall or door uses nails, not materials. Nails go into the wall's repair slot (it only appears while the wall is actually damaged), then hold a hammer or hatchet and use Repair Wall. Nails are only consumed as they heal, so a cancelled repair costs you exactly what it healed with. Higher tiers have far bigger health pools, so a full repair on a concrete or Zaruunium wall eats a lot of nails — bring more than you think.
Dismantling is Dismantle Wall with a hammer or hatchet, and it is a long hold. Be sure first: it refunds nothing. The wall is gone, and any upgrade materials or leftover repair nails still sitting in its slots die with it. The one exception is a door's codelock, which drops to the floor unlocked and claimable.
Power, light and farming
A bunker with no generator is a dark bunker. The ceiling lamps do nothing on their own — they are wired to a generator, and without one they are dead fittings.
| GENERATOR | |
|---|---|
| Makes | Power Generator Kit |
| Cost | 20 × Nails, 4 × Sheet Metal |
| Tools | 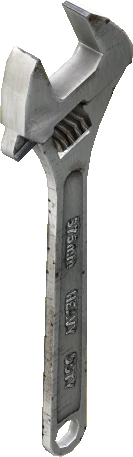 Wrench, Wrench,  Screwdriver Screwdriver |
| Bench upgrades | Vise, Drill |
Place the generator inside, feed it a 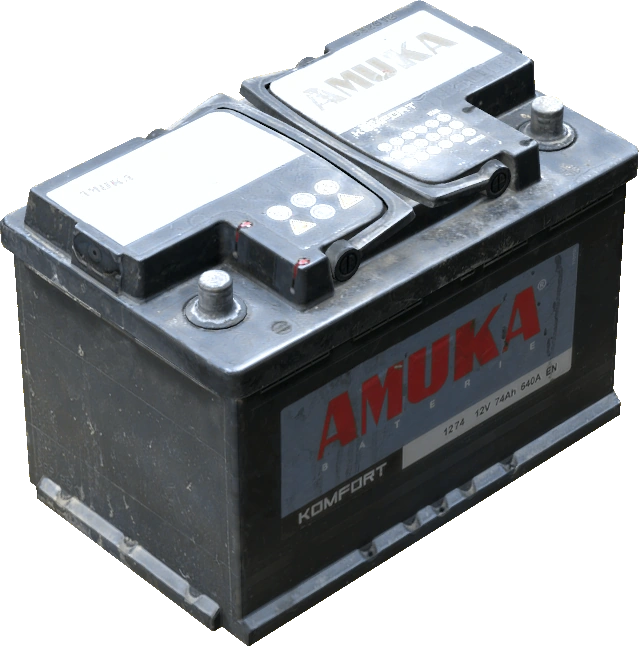 Car Battery or a
 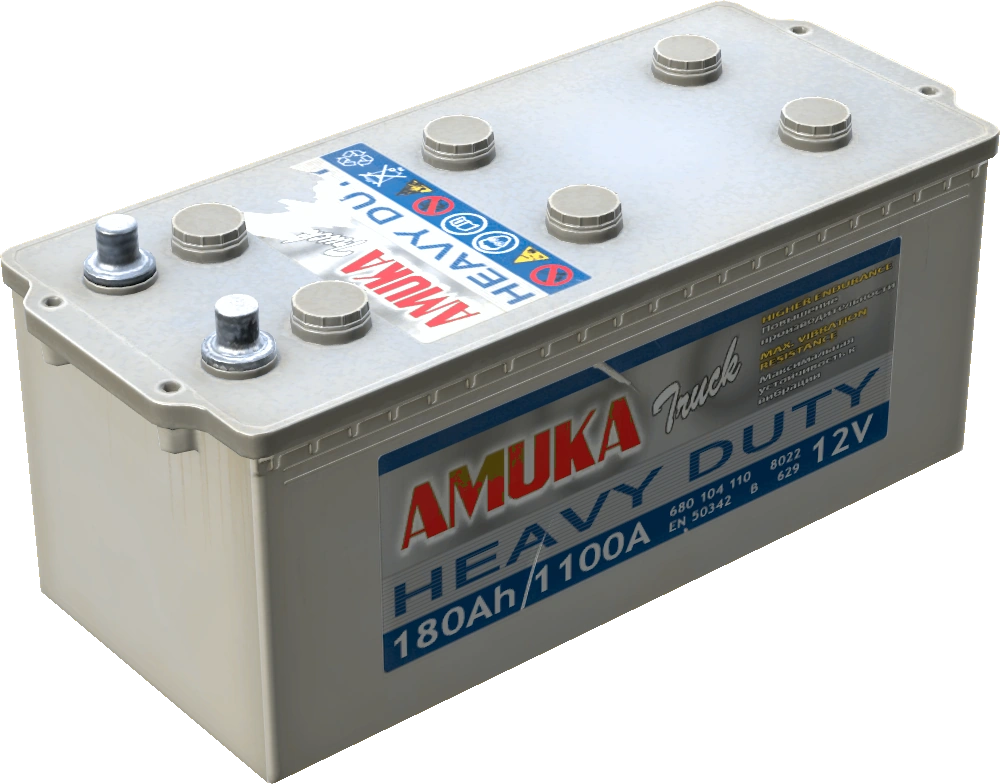 Truck Battery, and it does
three jobs: it runs the bunker lights (Turn On Bunker Lights and
Turn Off Bunker Lights), it charges car and truck batteries you leave in
it, and it powers your farming.
Truck Battery, and it does
three jobs: it runs the bunker lights (Turn On Bunker Lights and
Turn Off Bunker Lights), it charges car and truck batteries you leave in
it, and it powers your farming.
Planter Box Kit planter boxes only grow while the lights are on. Turn the lights off and log out and nothing grows. That is the most common "my crops are broken" report on the server, and it is not a bug.
Furnishing it
Everything you put inside comes off the workbench — see Workbench for the bench and Lockers, gun cabinet, fridge and shelves for the furniture line. Why it matters underground:
- Lockers take their own codelocks. In a shared base that means each person can have a private stash their own bunker-mates cannot open.
- Shelves hold crates, which turns floor space into real storage instead of a carpet of loose items.
- The fridge slows food decay, and it runs without being plugged into anything.
Spare kits are not wasted either — Scrap a kit for nails turns any kit back into part of its nails.
Living down there
A few interior rules that catch people out:
- Nothing can be placed within 0.9 m of a doorway or 1.75 m of the entrance. This keeps you from sealing yourself in behind your own crates.
- No fires within 2 m of a hatch or a mound.
- The interior sits at normal ground-level temperature, but it is not heated. Food stored down there can still freeze on a cold map. Older Discord answers claiming a bunker protects food from freezing are out of date — use the fridge and dress for the map you are on.
If you want to know when somebody starts hitting your hatch, build a
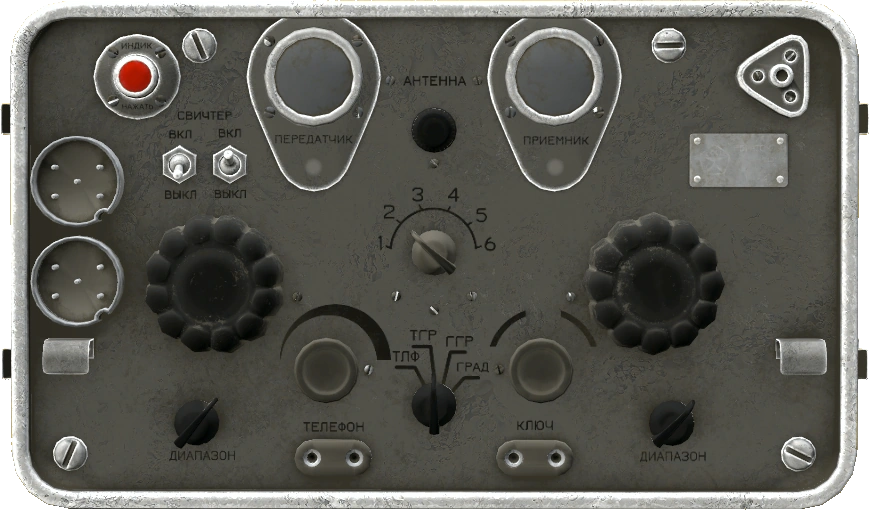 SecureZone Defense Unit and stand it within 20 m of the
hatch. That distance is measured across the map, not through the ground — your shell sits
directly beneath your hatch, so a station inside the bunker is in range, and it is the better
spot: it also covers your interior walls and doors, and nobody can smash it or carry it off
without blowing the hatch first. The step everyone forgets:
each player has to subscribe at the station themselves with
Subscribe to Alarm System — building it is not enough, and alerts reach you
through Discord so they work while you are offline. Details in Bunker raid alarm.
SecureZone Defense Unit and stand it within 20 m of the
hatch. That distance is measured across the map, not through the ground — your shell sits
directly beneath your hatch, so a station inside the bunker is in range, and it is the better
spot: it also covers your interior walls and doors, and nobody can smash it or carry it off
without blowing the hatch first. The step everyone forgets:
each player has to subscribe at the station themselves with
Subscribe to Alarm System — building it is not enough, and alerts reach you
through Discord so they work while you are offline. Details in Bunker raid alarm.
Losing it
A bunker you hold on your own stays put. Nothing counts down while nobody is attacking it — as long as your codelock has fewer than 3 people on it. At that point the bunker starts charging daily upkeep, and an unpaid bunker rots on its own with no raider involved. That is a whole mechanic of its own: see bunker upkeep.
Once someone breaches the hatch, a clock starts:
- Breach. At 30 % cumulative damage the hatch blows open — it opens to everyone, the codelock stops working, a smoke column appears at the surface, and a small smoke appears inside near the entrance so the owners can see they have been opened.
- Decay. The hatch then decays over 168 h. This whole window is
yours to save it in. A
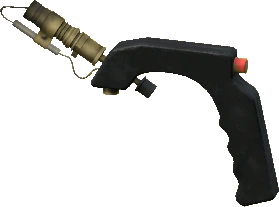 Blowtorch plus a gas canister
(Repair Hatch) puts health back on, and once you push it back above the
breach threshold the hatch re-secures and the clock stops.
Blowtorch plus a gas canister
(Repair Hatch) puts health back on, and once you push it back above the
breach threshold the hatch re-secures and the clock stops. - Crumbling. If you miss that window, a final 24 h grace period starts and repair is no longer possible. Get everything out.
- Despawn. When that expires, anyone inside is ejected and the bunker despawns with everything still stored in it.
The hatch tells you exactly where it is in that sequence: its name shows a health percentage while intact, then "decaying", then "crumbling" with the time remaining. Owners and raiders both see it, so nobody is guessing.
The raid maths, repair amounts and what damages what are all in Raiding and repairing bunkers.
There is one more way to lose it, and it needs no attacker at all. Once 3 people are on the hatch codelock, the upkeep panel inside the entrance starts billing a daily pile of nails, planks, sheet metal and cinder blocks. Miss the bill and the hatch and every wall and door you built decay until the same crumble chain above finishes the job — and a blowtorch cannot repair the last 20% of that damage. If you are sharing the code with more than a couple of people, read bunker upkeep before you hand it out again.
What goes wrong
- Restart timing. Do not start an entry with a restart imminent, and do not start a long action like a dig or a dismantle either. Know the restart cycle on your map.
- Materials left loose on the floor do not reliably survive a restart. Sheet metal, cinder blocks or meteor fragments dropped on the bunker floor mid-upgrade may simply not be there when the server comes back. Keep upgrade materials in a crate or a locker, never on the floor.
- Storage blocks upgrades. Crates, gun cabinets and fridges parked against a wall will stop the upgrade action working. Shift them away from the wall first, then upgrade.
- Dismantling gives nothing back. No kit, no nails, and anything staged in the wall's slots is destroyed with it. Strip the slots before you commit.
- A mound left idle disappears. If you dig and then go looking for planks for a day, come back to a patch of grass. Attach something to it before you wander off.
- Digging too close to another bunker looks fine until it does not. The spacing rule is deliberately hidden from the placement preview, so you get a green ghost and start digging — and a few seconds in the dig aborts with a message. That is a neighbour's hatch or a forgotten mound nearby. Move well away and start again.
- Turning up at the hatch carrying everything you own. The hatch is a fixed point on the surface that anyone can sit and watch, and the entry cannot be cancelled once it starts. Approach it like you would approach your own front door in a firefight.
- Nobody subscribed to the alarm. A raid alarm that no one has subscribed to at the station sends nothing to anyone. Have every member do it the day they join.
See also: Raiding and repairing bunkers, Bunker raid alarm, Codelocks, No-build zones, Workbench, and the interactive map for no-build zones.
Last updated 2026-09-28